One of my favorite distractions when I’m faced with writers block is to peruse the pages of a few of my favorite blogs. There are a handful of blogs that I’ve bookmarked and turn to time after time for their beautiful photos, compelling story telling and fascinating topics and subject matter. One of my all time favorite blogs is Wayward Spark, authored by Camille Storch, a writer, runner, beekeeper and canner who shares stories of her family’s modest but joyful life in a tiny house in rural Western Oregon. If you don’t already follow Camille, then you’re in for a real treat!
I often find myself clicking over to Wayward Spark (the Instagram feed is equally addicting!) for a dose of inspiration and thought it would be fun to invite Camille over here to share a little guest post on using soil blockers. We’re just starting our soil block journey here at Floret, and it has definitely been a learning process for us, so I’m excited about the information that Camille has shared. I’m also excited to giveaway a soil blocker from Johnny’s Selected Seeds (more on that below) to one lucky blog reader. For the demo, Camille visited fellow farmer-florist Erin McMullen of Rain Drop Farms in Philomath, OR. Take it from here Camille!
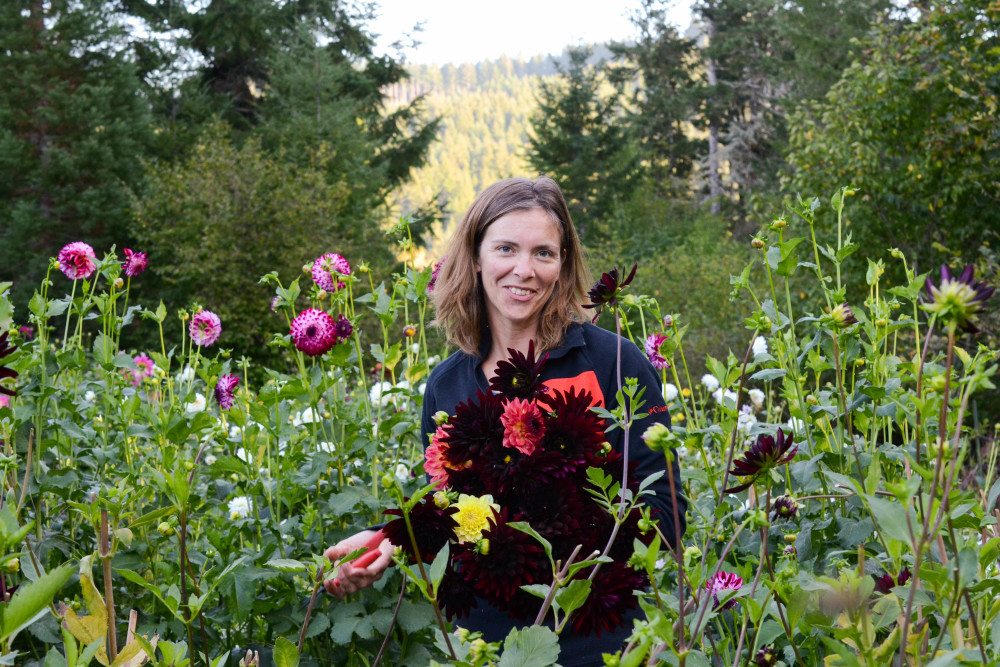 Thanks Erin! First let me share a little bit more about Rain Drop Farms. Erin McMullen and her husband Aaron started off the 2015 growing season with big plans and an abundance of motivation. They’re working with new varieties and new growing techniques, they’re exploring new markets for their bouquets and stems, both wholesale and retail, and they’re moving forward on a few major infrastructure upgrades to extend the farm’s flower-bearing months.
One of the couple’s biggest priorities this year is to increase efficiency and minimize waste for both financial and environmental reasons. Also, there are only a limited number of hours in the day for Erin M. and Aaron (who has a full-time job off the farm as well) to plant, transplant, weed, water, harvest, and market their goods, so they’re working on finding ways to squeeze more productivity out of fewer hours
To streamline seedling production and field planting Erin M. is trialing using pot-less soil blocks for plant starts. At the recommendation of Tony and Denise Gaetz at Bare Mountain Flower Farm, Erin M. purchased this 4-at-a-time soil blocker from Johnny’s Selected Seeds.
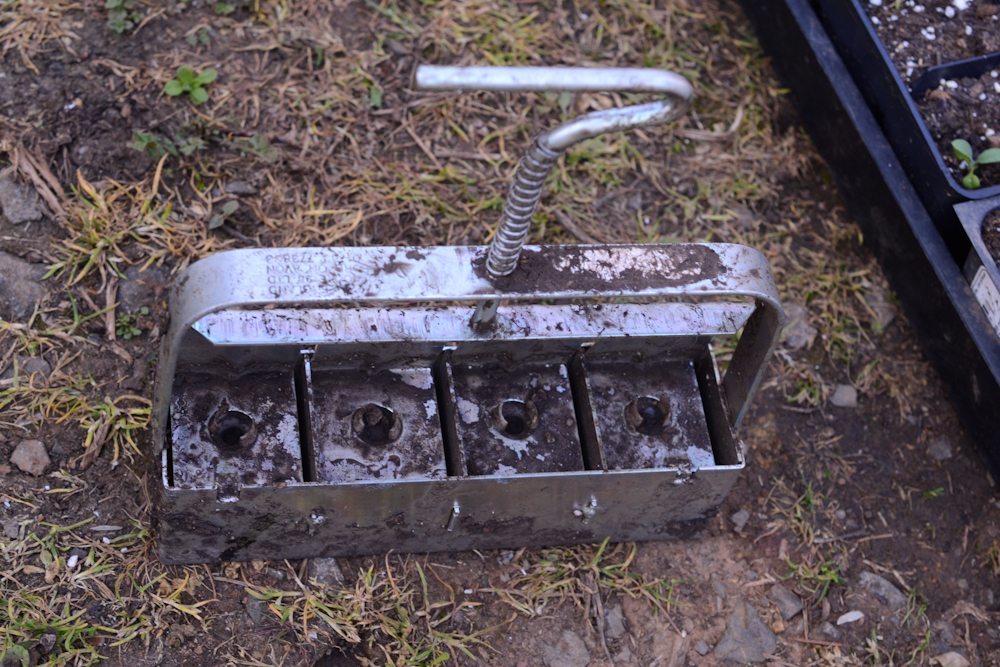 Employing a soil blocker, especially a small, hand-held one, takes quite a bit more work up front than seeding and transplanting into pots, but when considering the time and energy spent over a whole season, Erin M. is pretty sure the soil blocker will come out ahead.
When using soil blocks, you:
Don’t have to buy pots.
Don’t have to take the time to set pots out in trays.
Don’t have to rehabilitate root-bound transplants.
Don’t have to take the time and effort to remove the plant starts from the pots when transplanting, minimizing damage to fragile root systems.
Don’t have to pick up all the pots tossed aside in the rows after transplanting.
Don’t have to store pots.
Don’t have to deal with shards of broken pot plastic that inevitably wind up strewn all over your farm.
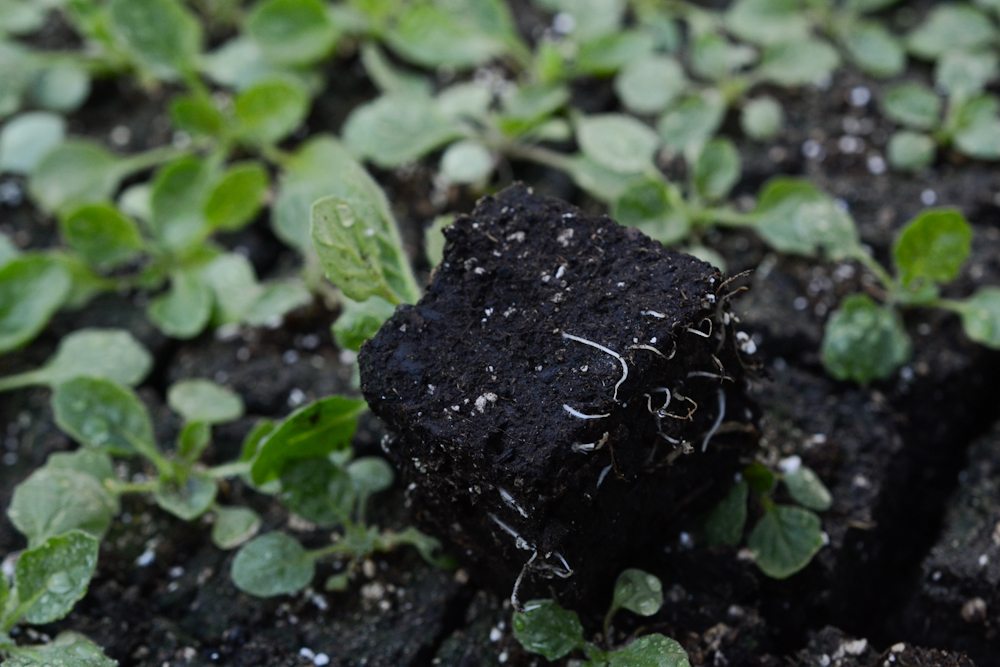
Transplanting from soil blocks is also gentler and easier on the plant starts because the soil blocks meld into the earth more naturally than root-bound pot blocks.
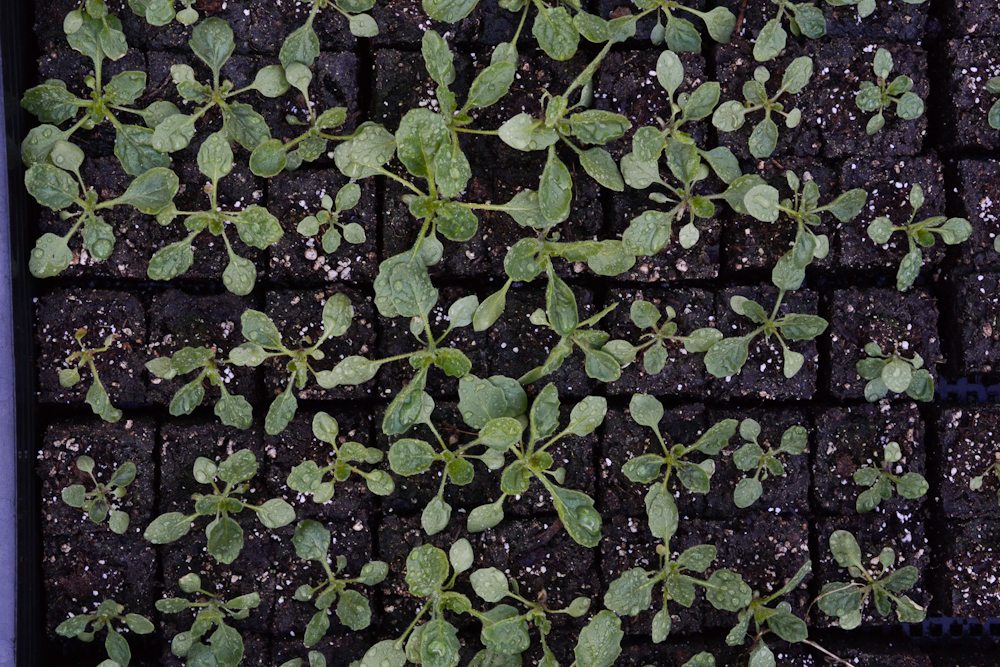
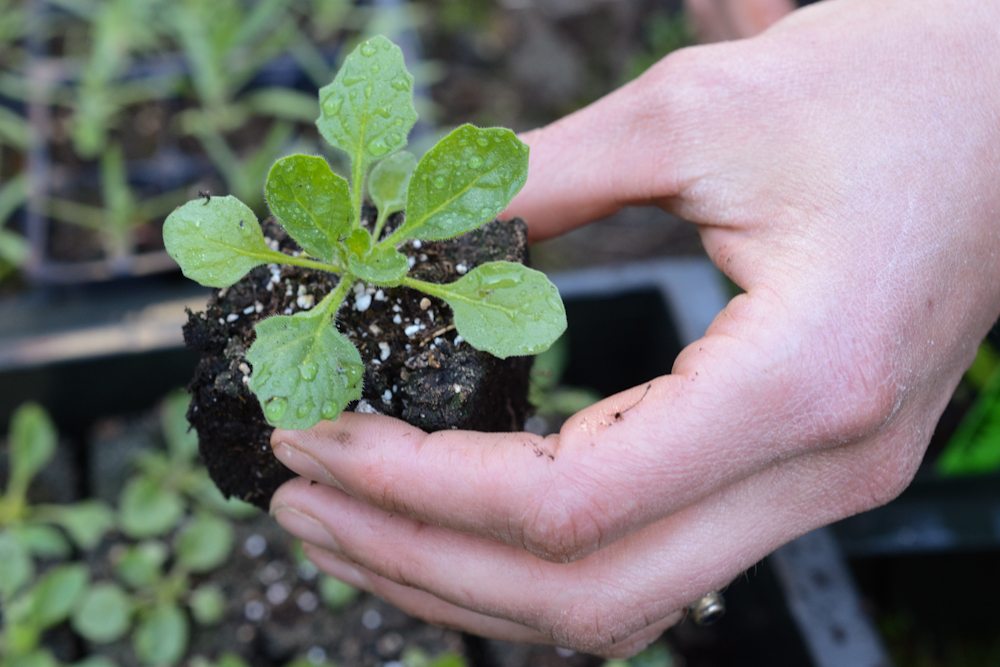
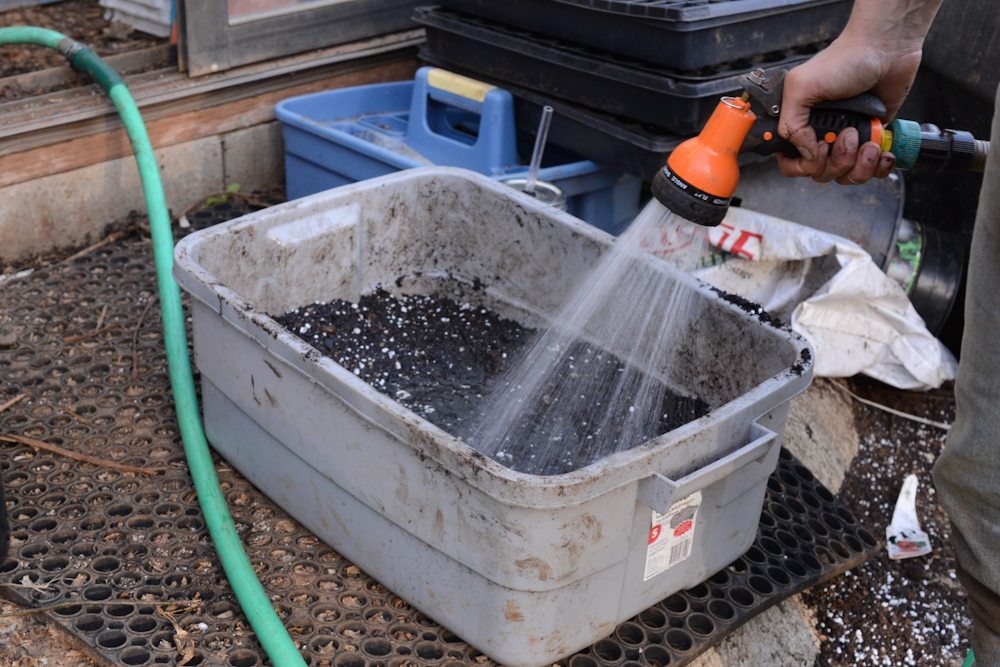
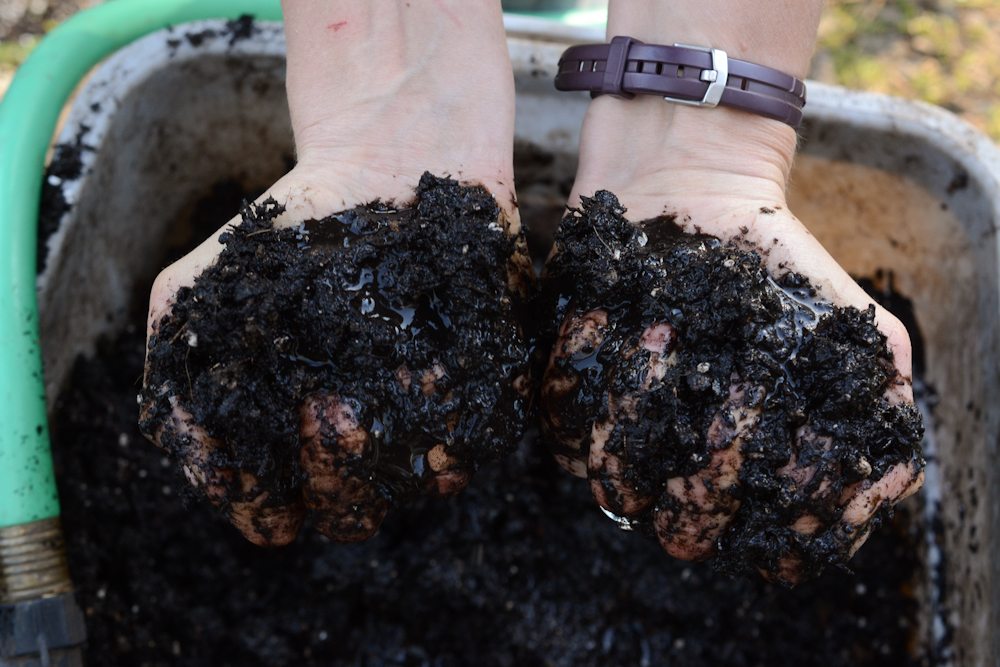
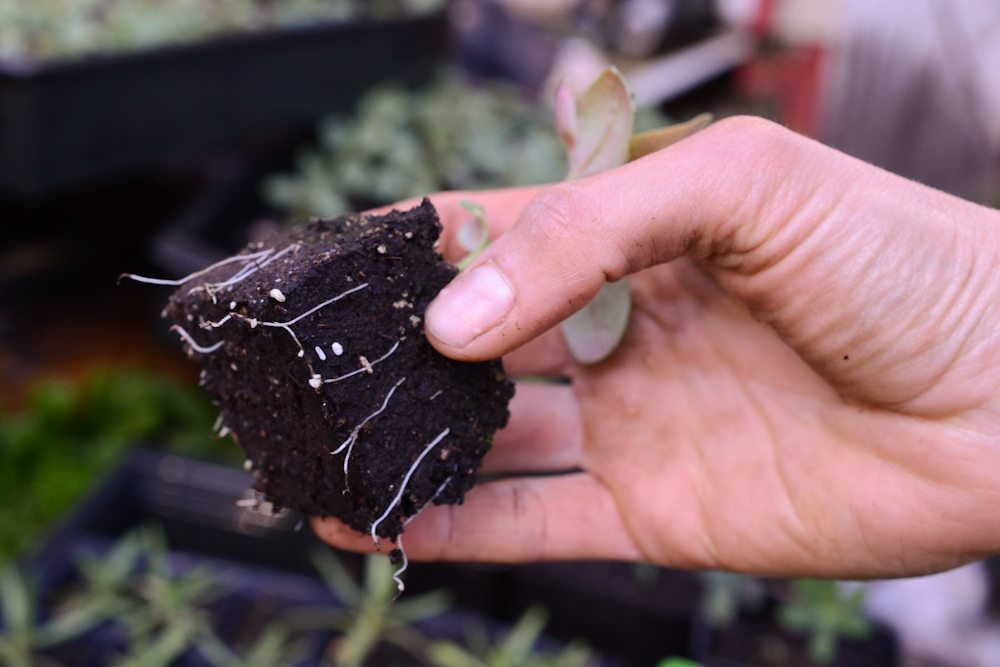 Using a soil blocker isn’t difficult, but there are a few tricks to master for consistent success. First and foremost, your soil medium must be very wet. Sloppy, splooshy wet. (For a recipe and some tips on blending your own potting mix see the Gathering Together Farm method here.) On a small scale, it’s probably easiest to add water to your soil in a 10-gallon plastic tub.
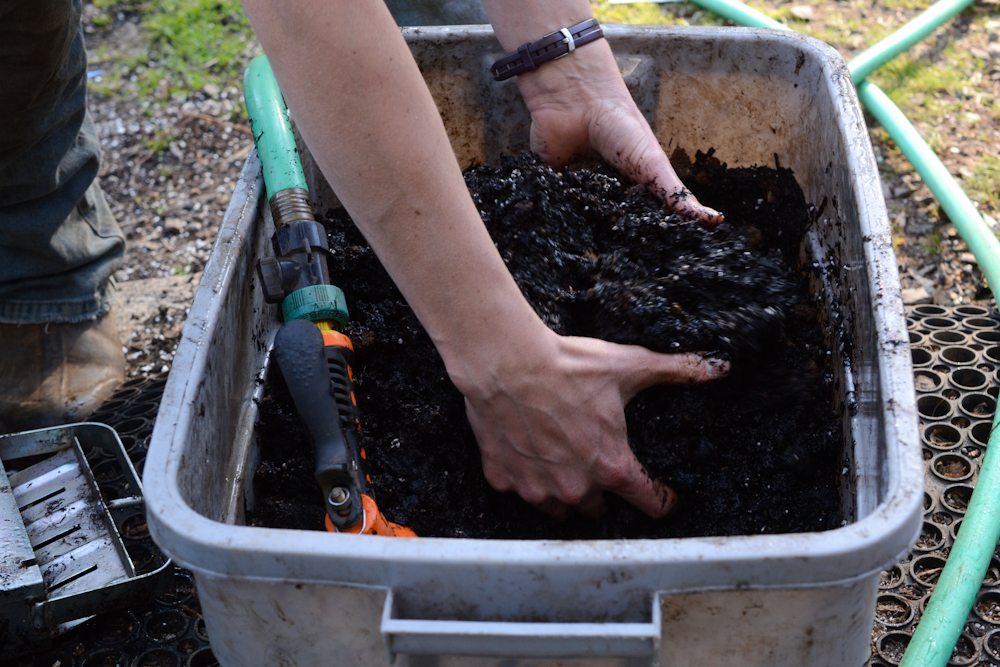
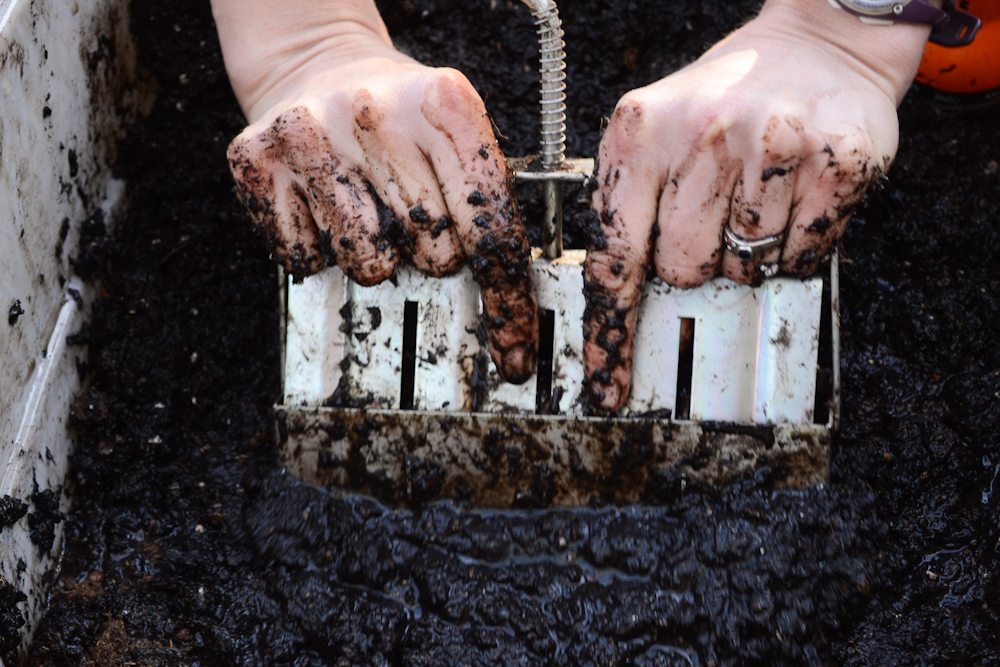
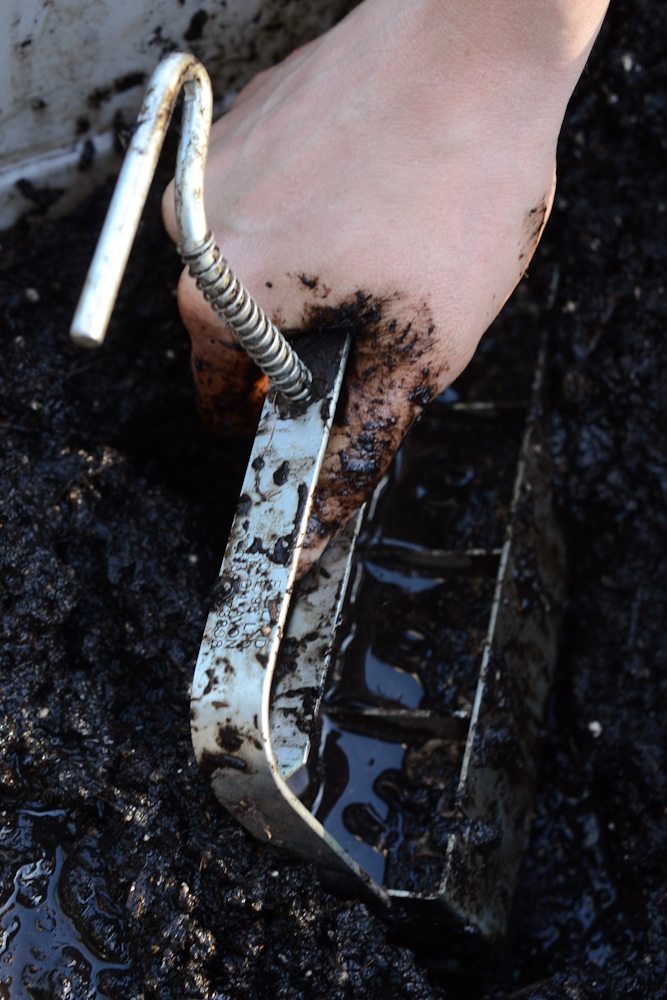
 Once the soil is good and wet, you press and sweep the soil blocker forward and backward through the slurry until you can see water in the tops of the block spaces. Tip it up, scrape off the excess soil, set it down in a tray, and squeeze the lever to release the blocks. (There’s a little promotional video of how it works here.)
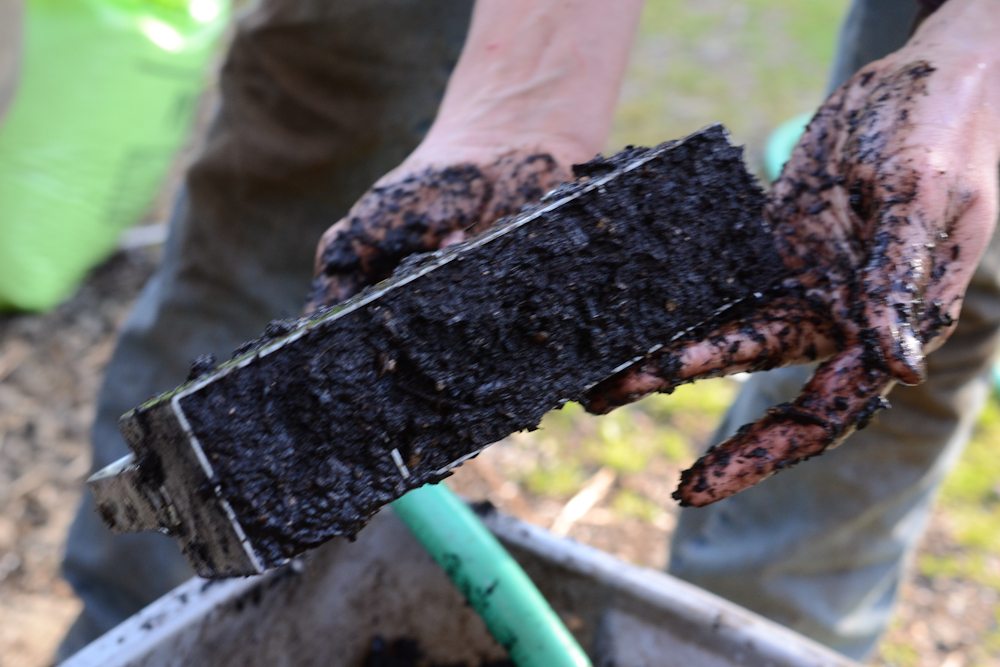
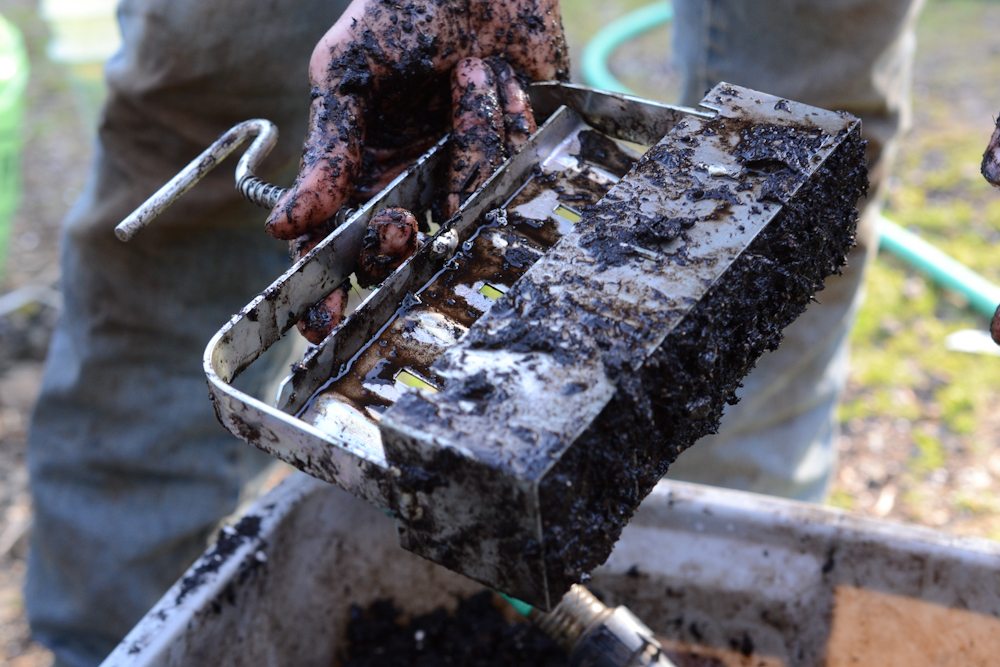
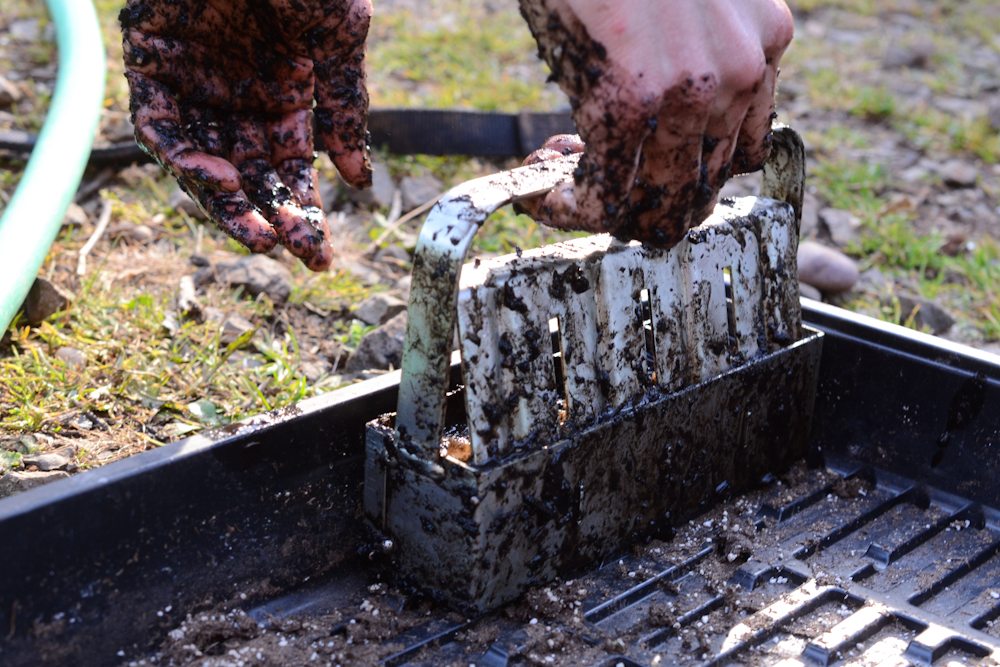 After the blocks are formed, they’re solid enough to pick up and handle gently. Occasionally, one will crack in half while seeding or transplanting, but that’s not really a problem because the plant roots will eventually hold it together, and the surrounding blocks will hold it in place.
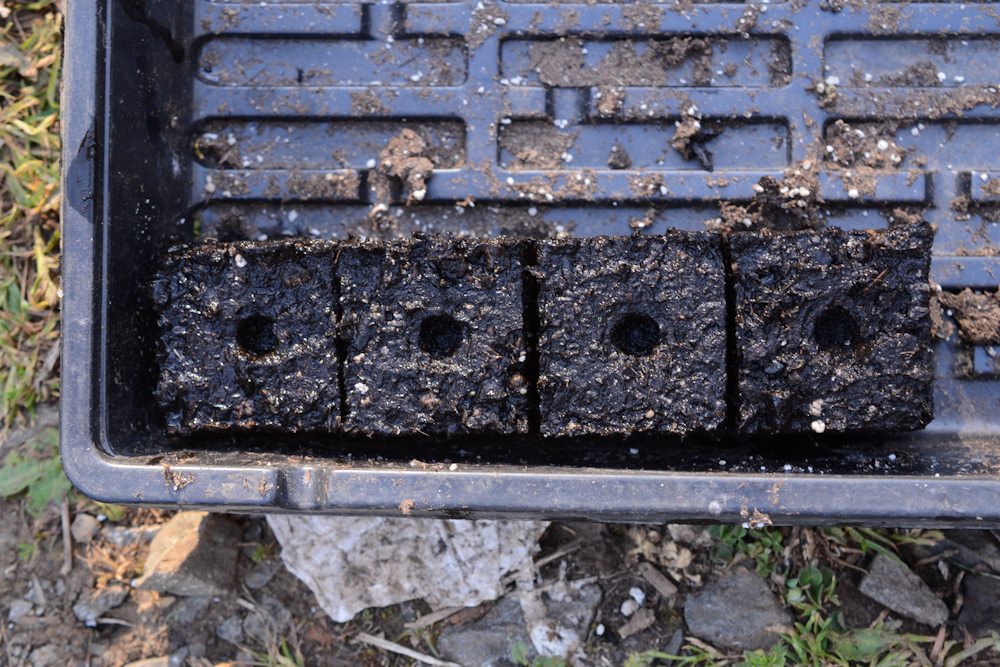
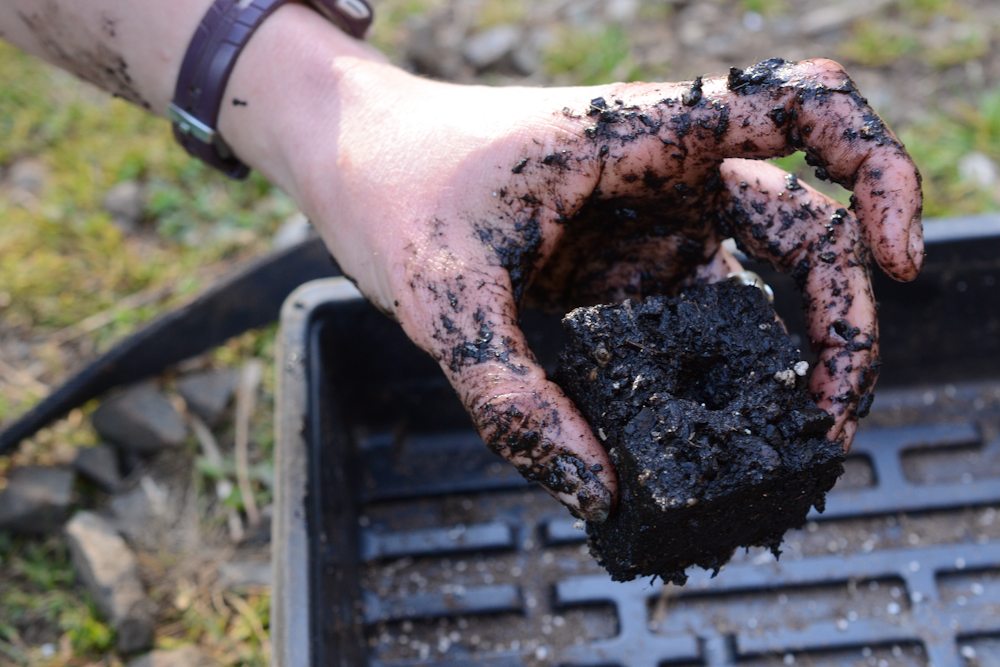
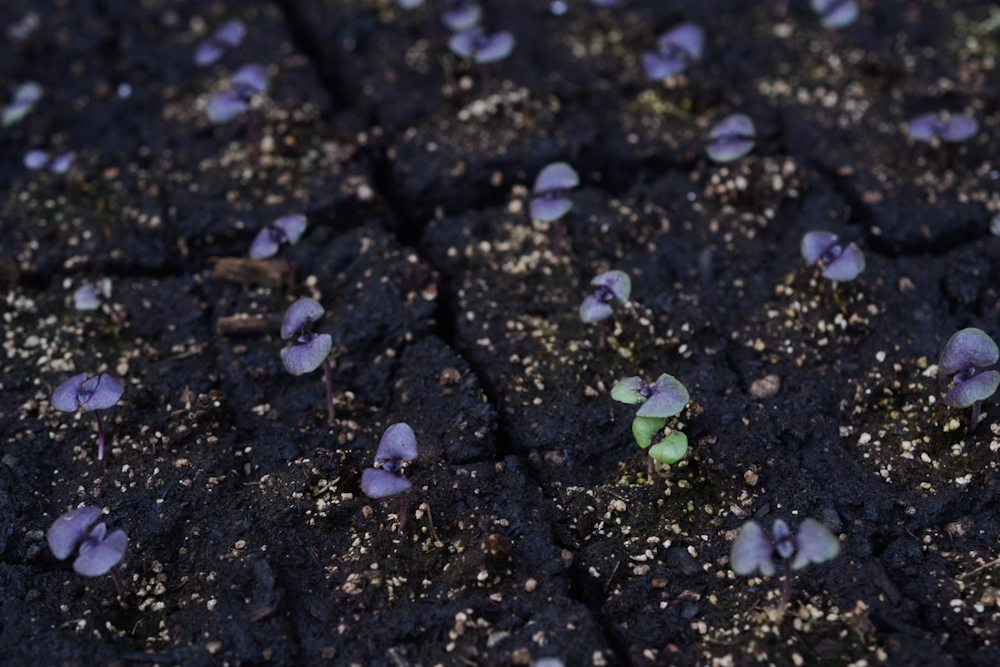 Erin M. has done some light experimenting with Johnny’s 20-block, ¾” soil blocker, but she still prefers small-cell flats so long as she transplants those starts early before they’re root-bound.
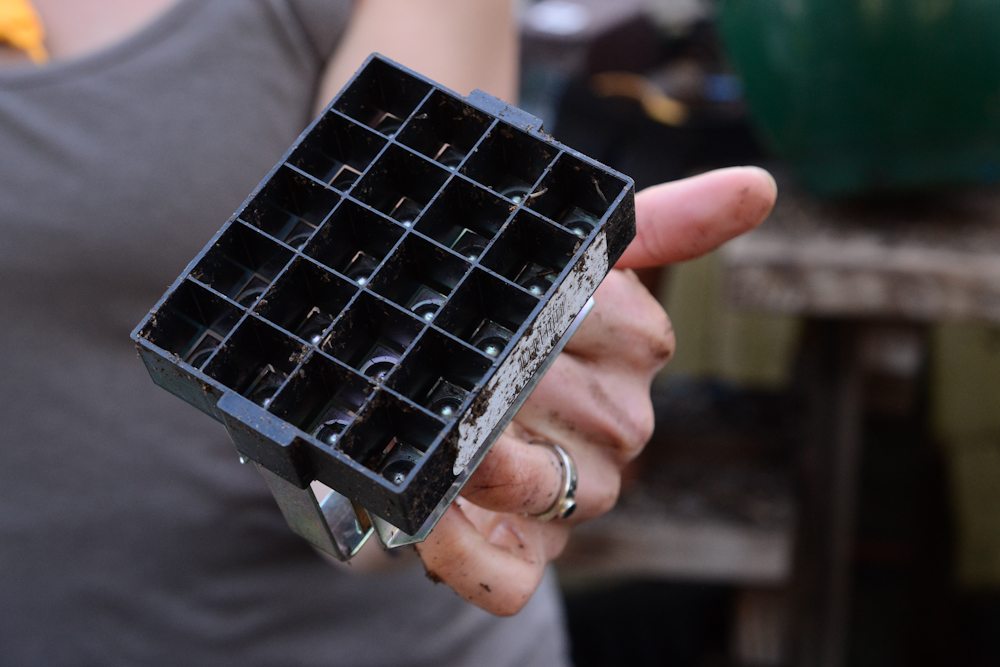 Moving forward, she plans on working more with the smaller blocker in the hopes of eliminating most plastic in their seedling production. At the end of this season, she will evaluate the success of the soil blocks and decide if she wants to invest in a stand-up, 12-block soil blocker.
—-
That was GREAT Camille, thank you!
Ok you guys, if you’d like a chance to win one of these handy soil block makers, simply add a comment below. In your comment, please share your favorite gardening website or a blog.



Katie K on
Are there any updates after this experiment? Struggling with weather to use soil blocks or plastic cells. Floret’s seed starting demo from this year uses plastic cells, so I’m assuming you are still using plastic? Just wondering the reasons if so. Thank you