Every fall we take soil samples from our field and greenhouses and send them into the local soil lab for testing. The information from the test gives us a broad overview of our soil health and what we can do to improve it. A good soil test normally runs around $50, money well spent in the long run. This test measures everything from the percentage of organic matter, the pH of the soil, plus any lacking trace minerals.
A good lab will give you recommendations on what amendments need to be applied to bring your soil into good, working order. I always make sure to let the lab know that we farm organically so that they don’t suggest chemical fertilizers. Once we have the information back from the lab, we then set about making necessary improvements. Fall is a great time to add rock powders and trace minerals so that they have time to dissolve into the soil before spring planting.
Our farm is situated on top of a sand bar and while the freely draining nature is wonderful in early spring when most other fields are unworkable, it definitely comes with its own set of challenges. In addition to being very hungry, our soil also has difficulty holding water and nitrogen. I often feel as if we’re feeding an elephant with how much organic matter we add each year.
In addition to applying the soil labs’ recommendations in the fall, we also heavily amend each bed before planting in the early spring and again each time it is replanted throughout the season. The same treatment goes for our greenhouses.
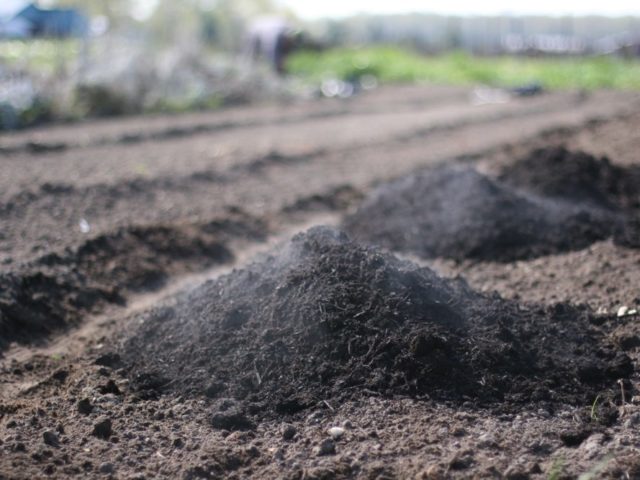
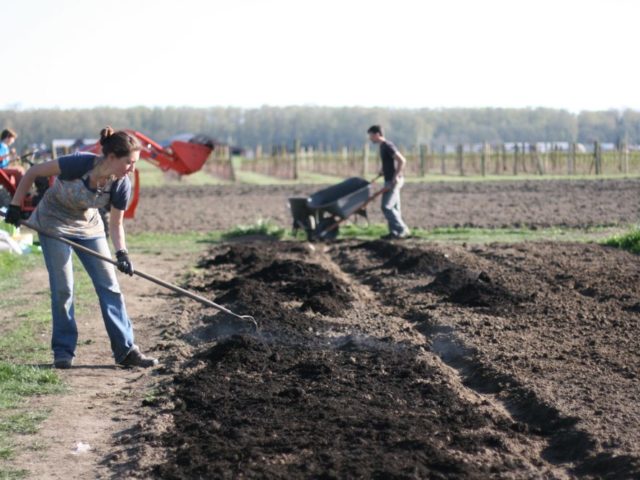
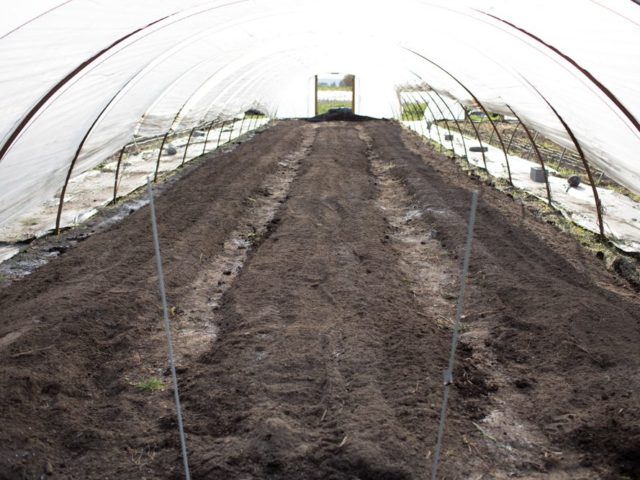
To start, we put down a thick 3-4” (7-10cm) layer of compost across the top of each bed, making sure to spread it out as evenly as possible. Our favorite compost is made locally from recycled plant debris. We purchase it by the dump truck load and it runs between $15-17 a yard, delivered. If you have heavier clay soil, you can cut the amount of compost you apply in half.
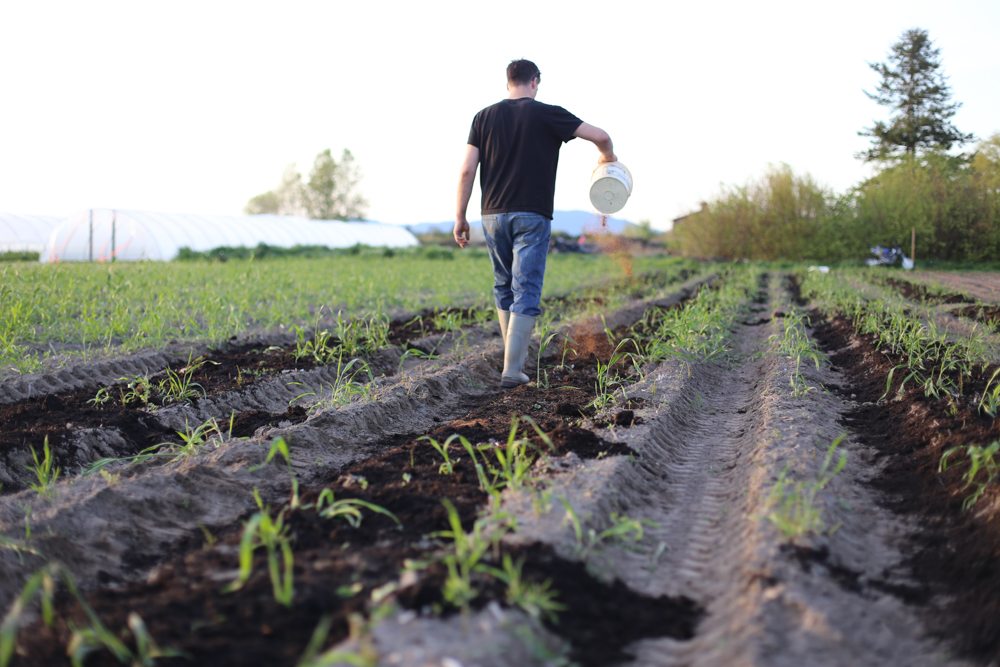
We then sprinkle a generous dusting of a high quality organic fertilizer at a rate of 1.5 lbs/10 linear feet (0.68 kilos/3 meters) which, for us, is 10.5 lbs per 70 foot long (4.76 kilos per 21.3 meter) row.
One 50 lb (22.6 kilo) bag covers about five of our 4′ x 70′ (1.2 m x 21.3 m) long growing beds.
Our favorite fertilizer is Nature’s Intent (7-2-4) which is made from natural ingredients including bone meal, cottonseed meal, feather meal, kelp meal and rock powders. It may not be available in your area, but you should be able to find something similar if you give the specs to your local feed or garden store.
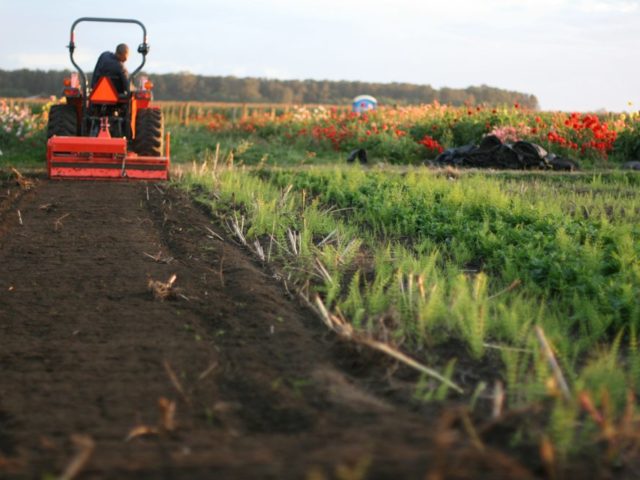
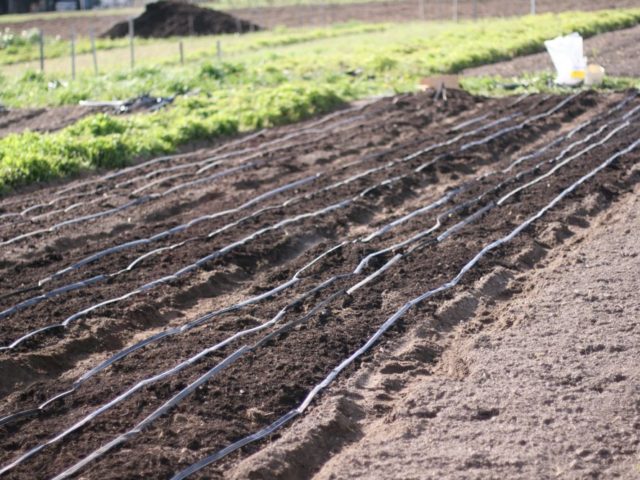
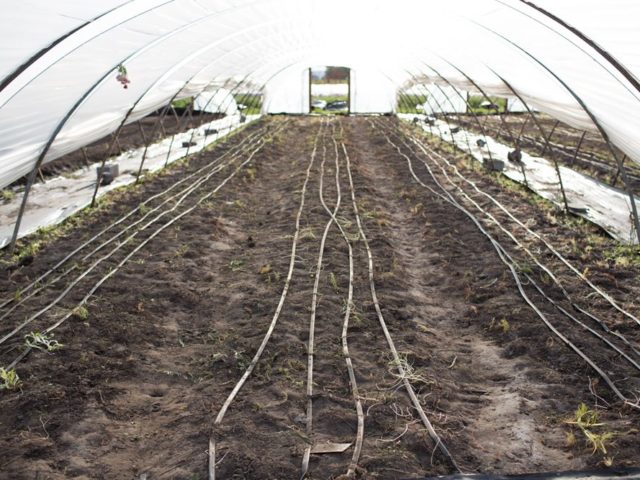
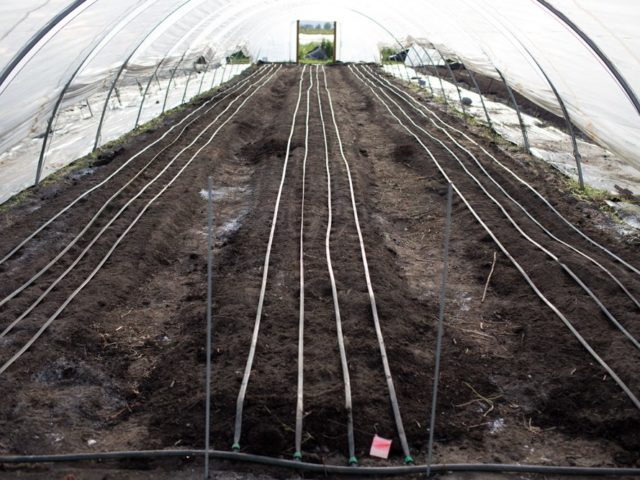
The ingredients are then tilled into the soil and irrigation lines are laid down. Because our soil is so sandy, we put down four lines of drip irrigation, one foot (.3m) apart. If you have clay soil, you could probably get away with two or three.
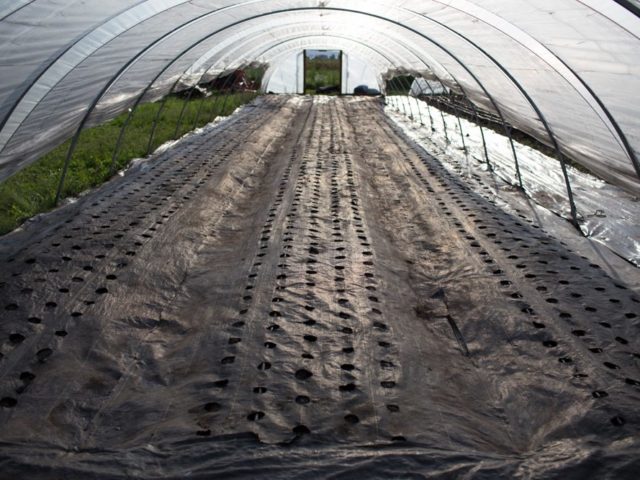
We then cover each planting bed with pre-burnt landscape fabric. This helps tremendously with weed control. Learn more about using landscape fabric.
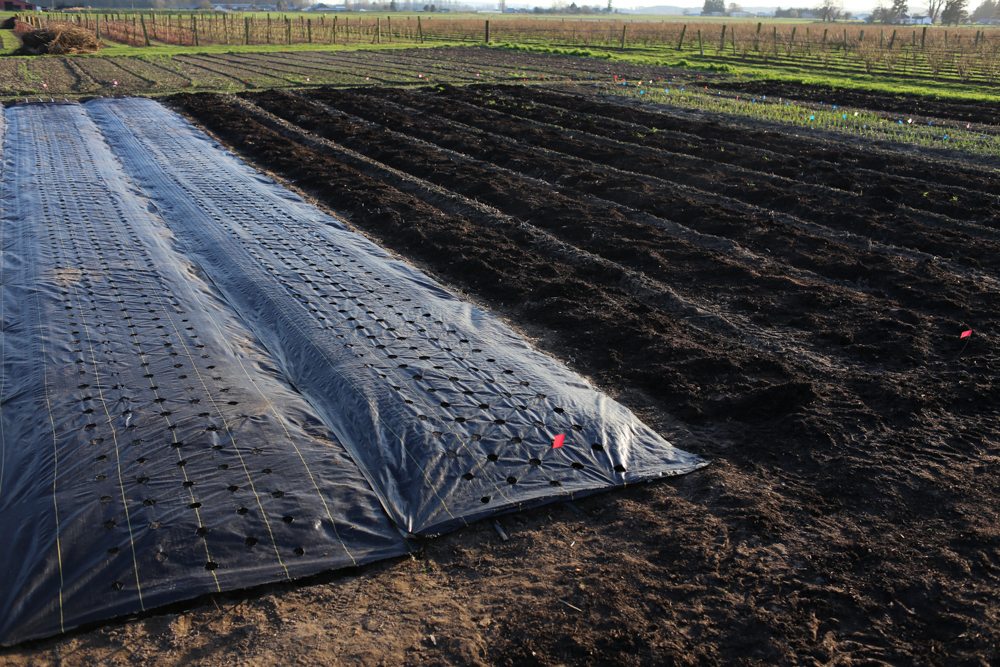
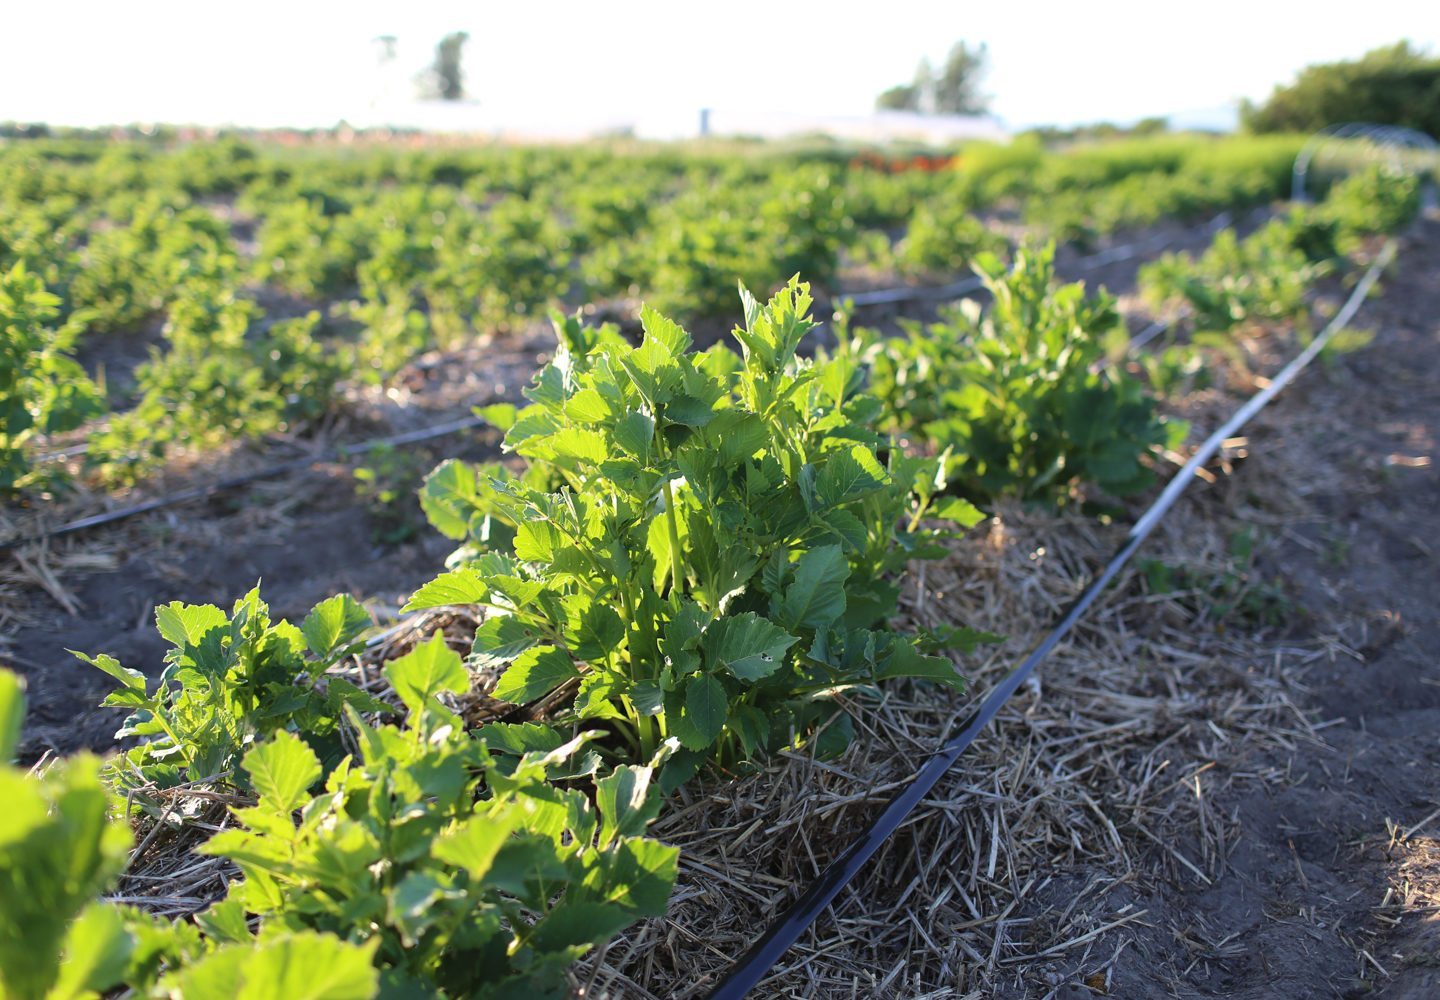
For beds that aren’t covered in landscape fabric, new plantings are thickly mulched with straw, shredded leaves or grass clippings to help retain moisture and suppress weeds. Once plants are in and growing we feed them with a weekly application of compost tea.
After a bed of annual flowering plants such as bells of Ireland or snapdragons is done producing, we mow the remaining foliage down and take up the fabric, pull back the drip irrigation lines and amend the bed using the same process outlined above before replanting with a second crop. In the fall, the beds are cleaned up and replanted with a cover crop usually consisting of ryegrass, field peas, hairy vetch and crimson clover.
While the process is labor intensive, it has greatly increased the health of our plants on the farm, in turn upping our flower production across the board and decreasing insect and disease pressure.
Pictured below, a hoop house that was filled with Iceland poppies in the spring. Once the plants slowed their flowering to a trickle, we pulled out the plants, prepared the beds as noted earlier, and replanted with a late crop of celosia.
I believe in using natural methods and ingredients when it comes to growing. In our valley organic agriculture is slowly catching on, but there are still so many farms that spray toxic chemicals on their crops and use synthetic fertilizers rather than compost and other natural remedies. I understand why. A natural approach requires more time, money and effort. But in my opinion, if you have the choice, it’s certainly one worth considering.
From day one we’ve only used natural ingredients in our gardens and on the farm. I don’t want myself, our staff, visitors, or the creatures that live here to be exposed to toxic chemicals.
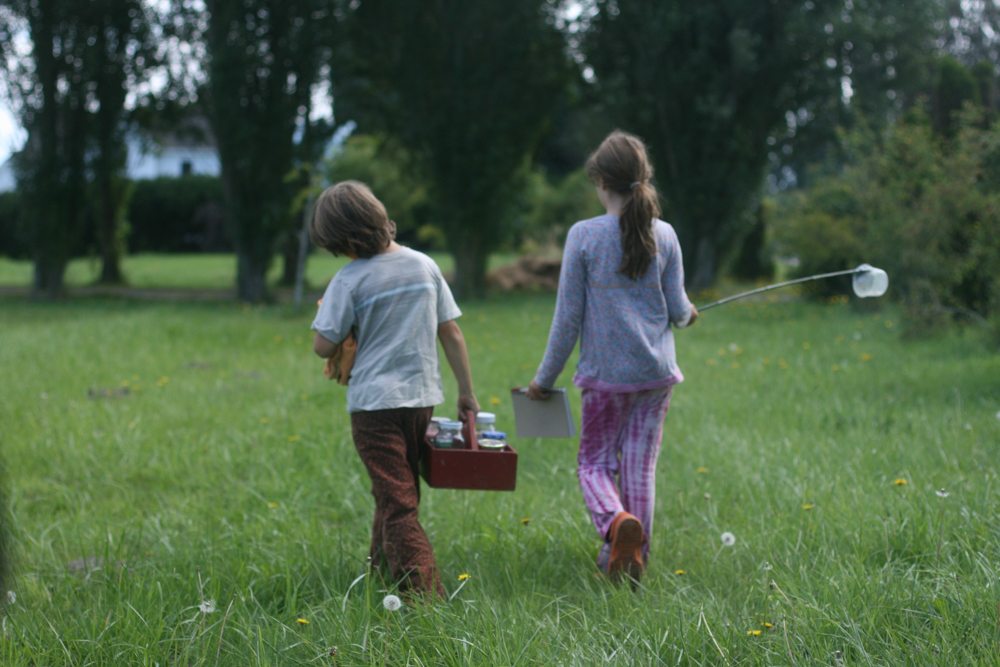
But most importantly, my children have grown up in the garden and I believe their home and play areas should be safe and free from anything toxic or harmful.
I never could stomach the idea of exposing them to poisons, just so I could get a perfect crop, so I worked extra hard to grow the healthiest plants possible, ones that could resist pests and disease using only natural ingredients.
For you mamas, please keep in mind that whatever you use in the soil and apply to your plants will at some point come in contact with your children. If you don’t have children, but are an animal lover, the same goes for you.
Yes, growing naturally is harder, and a bit more expensive, but it shows in the quality of the flowers that you produce, and in the health of you and your family.