1. Depending on where you live and what kind of setup you’re working with, you can plant your anemone corms in either autumn or late winter/early spring, in a place where they’ll get full sun. In areas with mild winter temperatures (USDA zone 7 and above), corms can be planted in the autumn and successfully overwintered outdoors with the protection of a low tunnel or frost cloth. In colder areas (USDA zone 6b and below), anemones must be grown in a minimally heated hoop house or held back and planted out at the end of winter/early spring. If corms are exposed to temperatures below 25°F (−4°C), they will freeze and ultimately rot once thawed, so be sure to protect them from extreme cold.
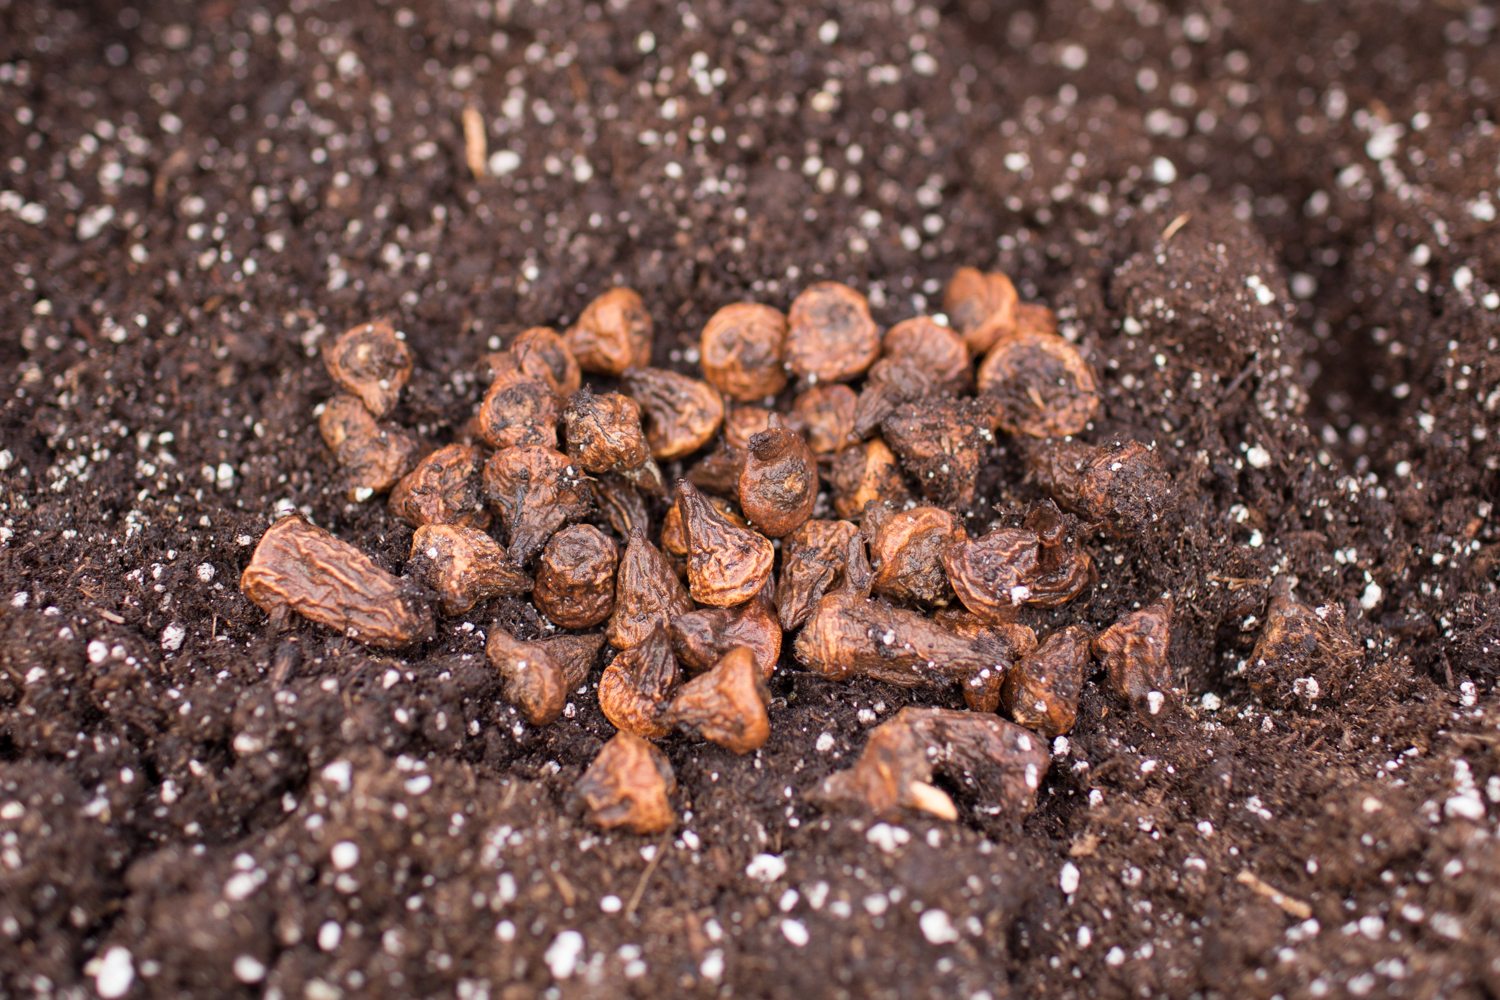
2. When you unpack your corms, you’ll notice they resemble shriveled brown acorns and are probably not what you were expecting. Don’t worry—these strange little critters will produce an abundance of striking blooms come spring.
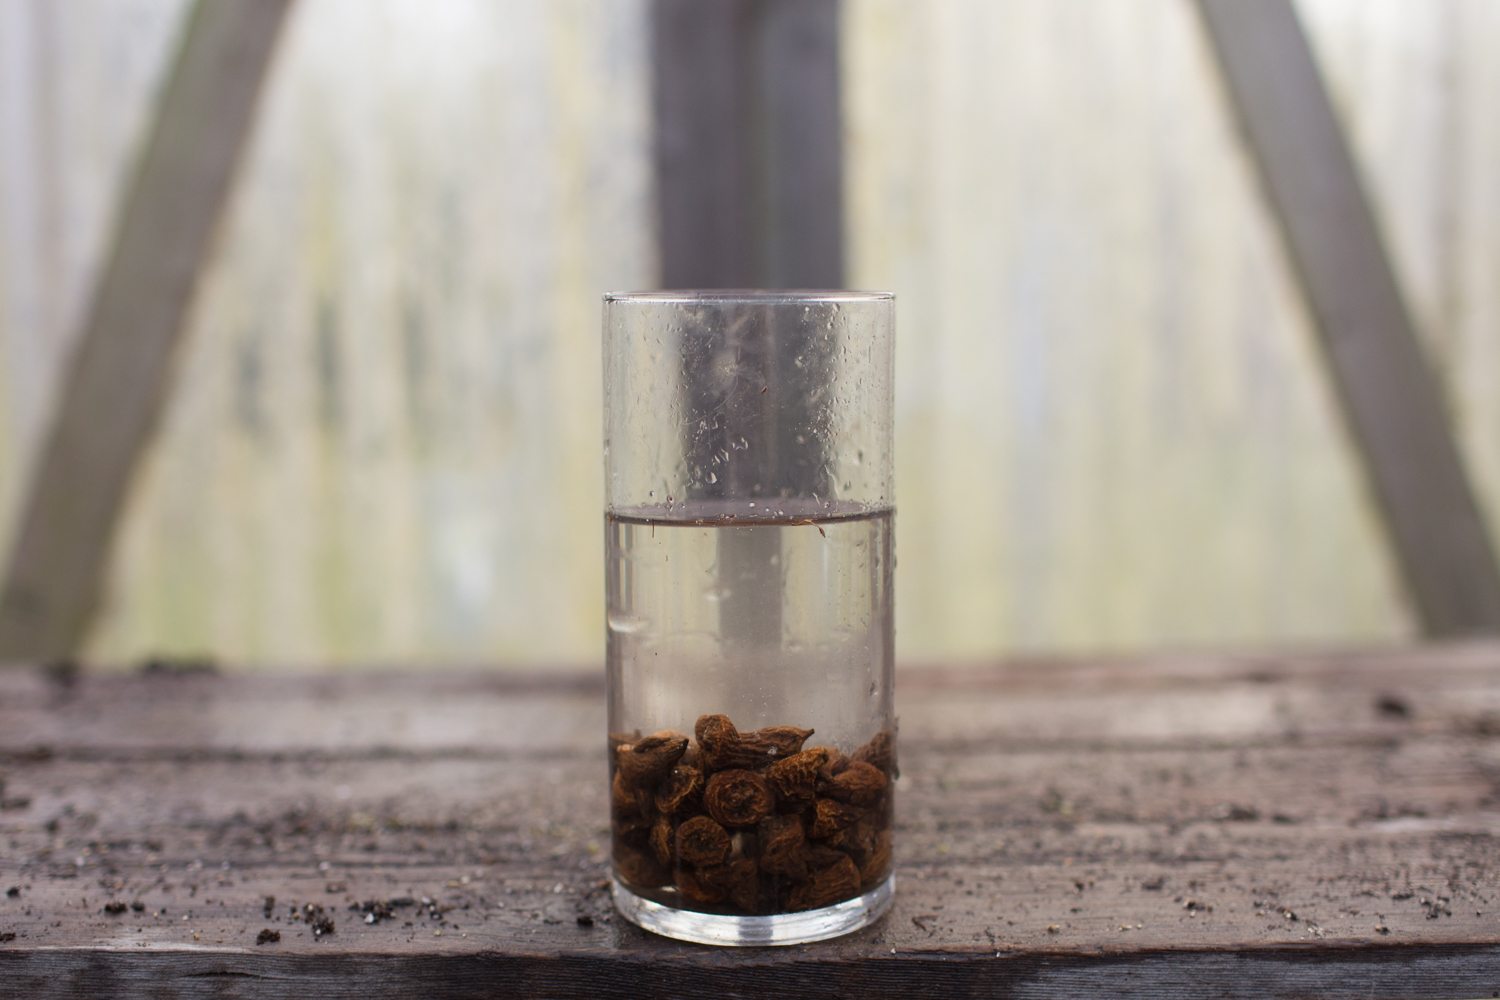
3. Before planting, soak corms for 3 to 4 hours in room-temperature water. It’s important that you don’t oversoak them—they will rot. As the corms soak, they will plump up, often doubling in size.
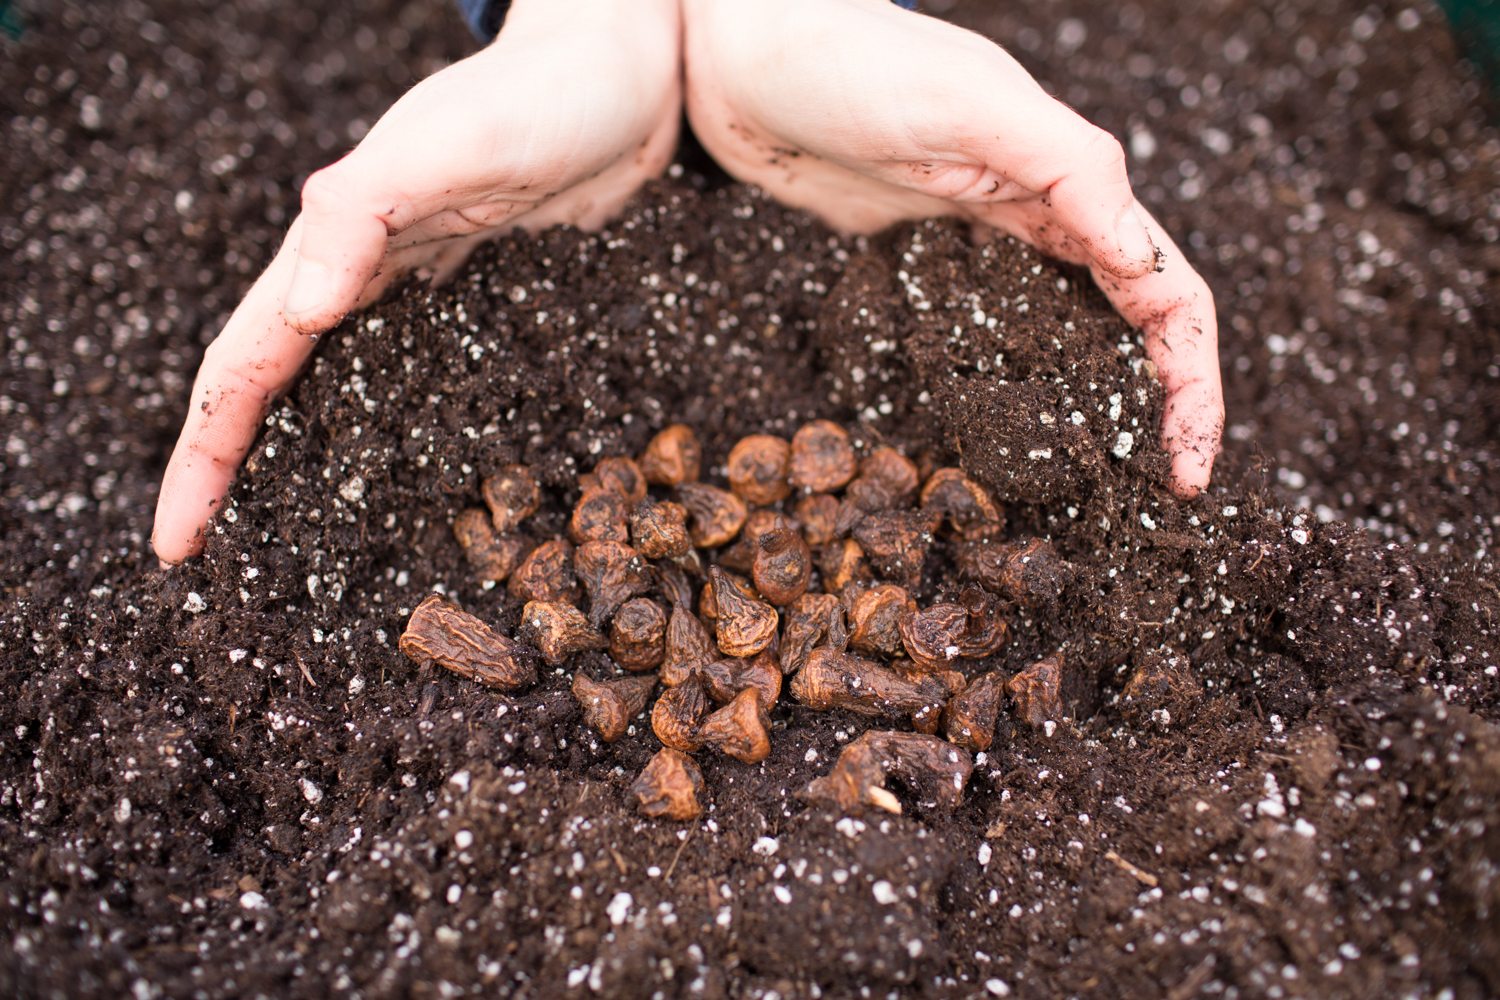
4. After soaking, corms can either be planted directly in the ground or presprouted. Presprouting the corms before planting will mean flowers bloom a few weeks earlier. To presprout, fill a flat-bottom seed tray half full of moist potting soil. Sprinkle the soaked corms onto the soil and then completely cover them with more soil. Leave the tray in a cool place (40°F–50°F / 4°C–10°C) for 10 to 14 days in an area where rodents can’t find it. Check on the corms every few days, making sure the soil is moist but not soggy, and remove any corms that show signs of mold or rot.
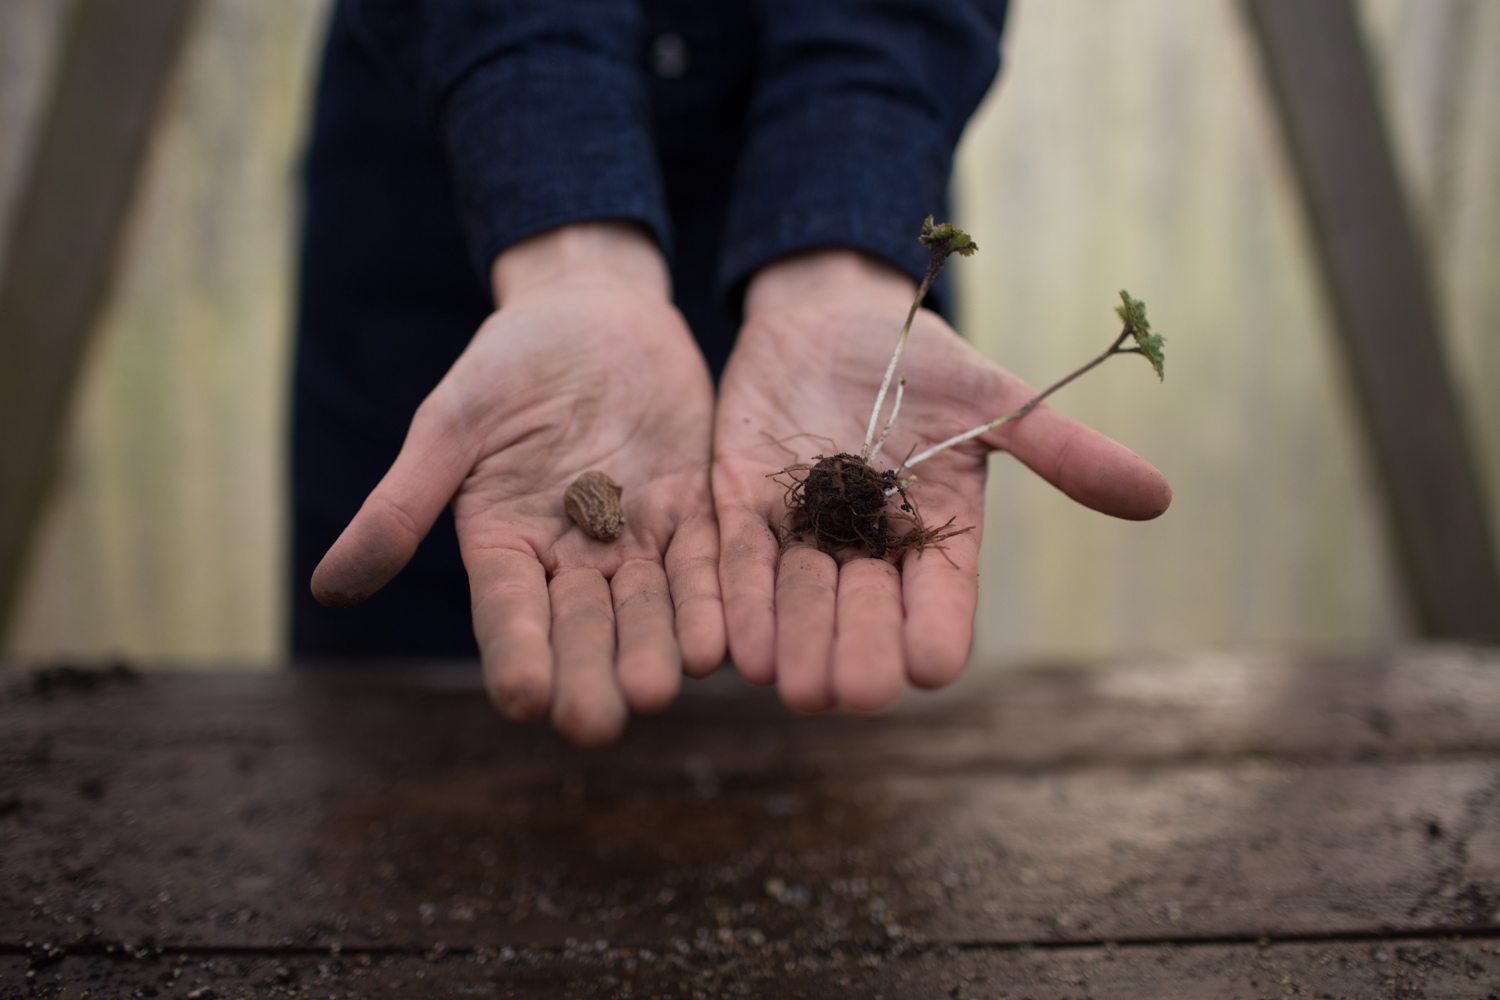
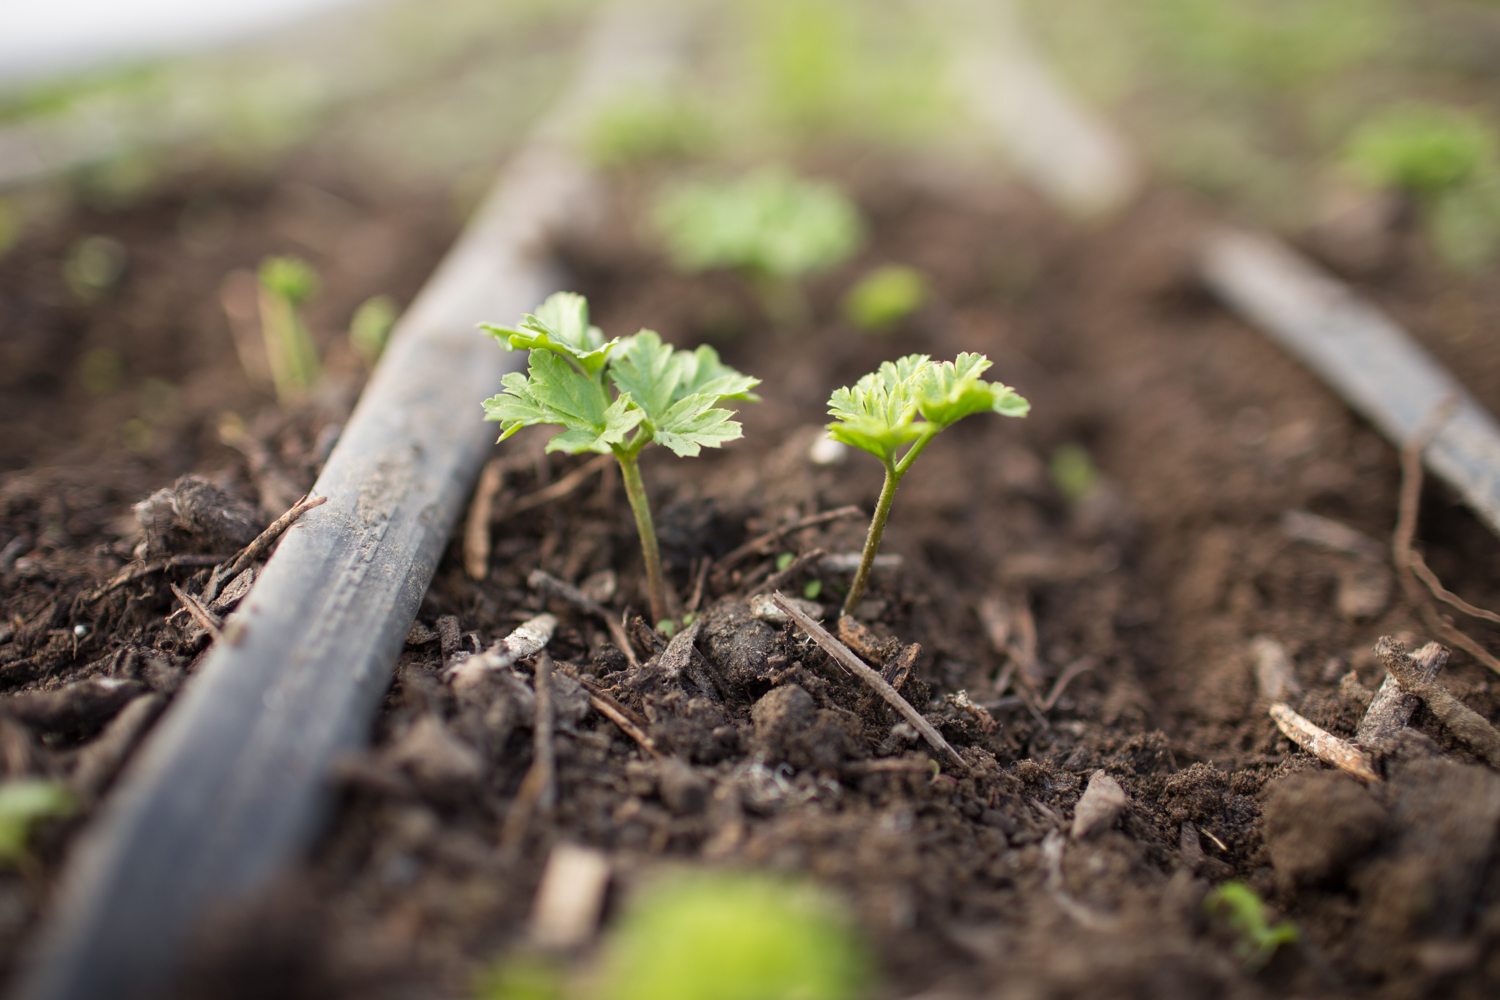
5. During this time, corms will swell to about twice their original size and develop little white rootlets that resemble hair. Once rootlets appear, it’s time to plant them in the ground.
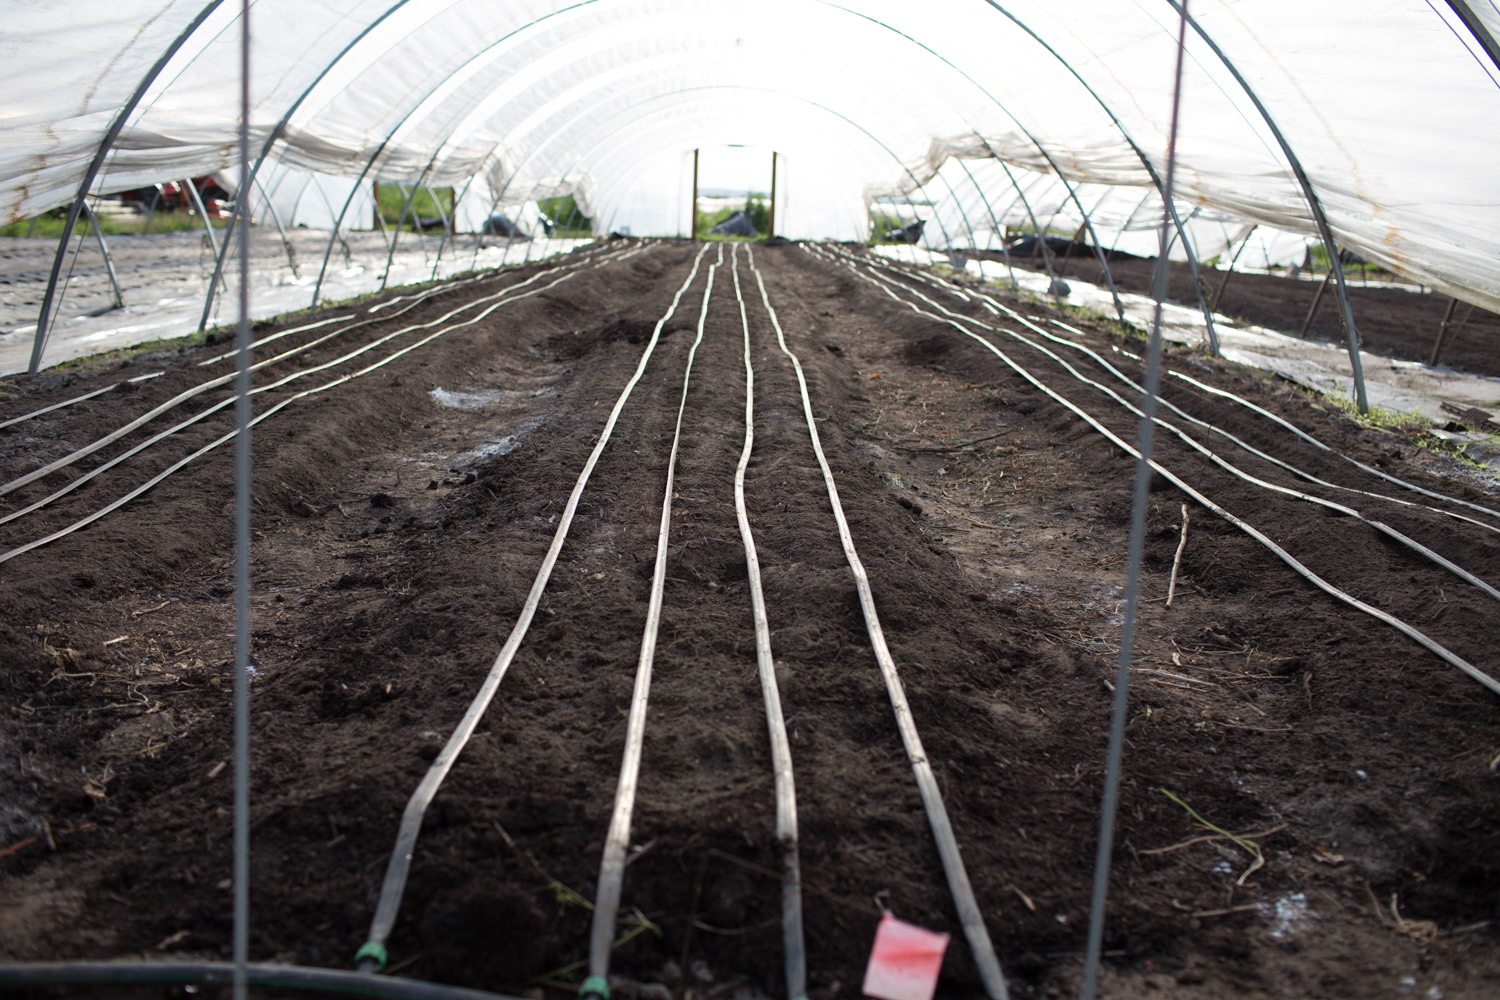
6. Before planting, it’s important to prepare the growing beds. We add a generous dose of compost (2 to 3 in / 5 to 8 cm) and a balanced organic fertilizer (such as Nature’s Intent 7-2-4) and mix it thoroughly into the soil. Anemone corms are planted 6 in (15 cm) apart at a depth of 2 in (5 cm), with 4 rows per bed. Plant corms with the pointed end down.
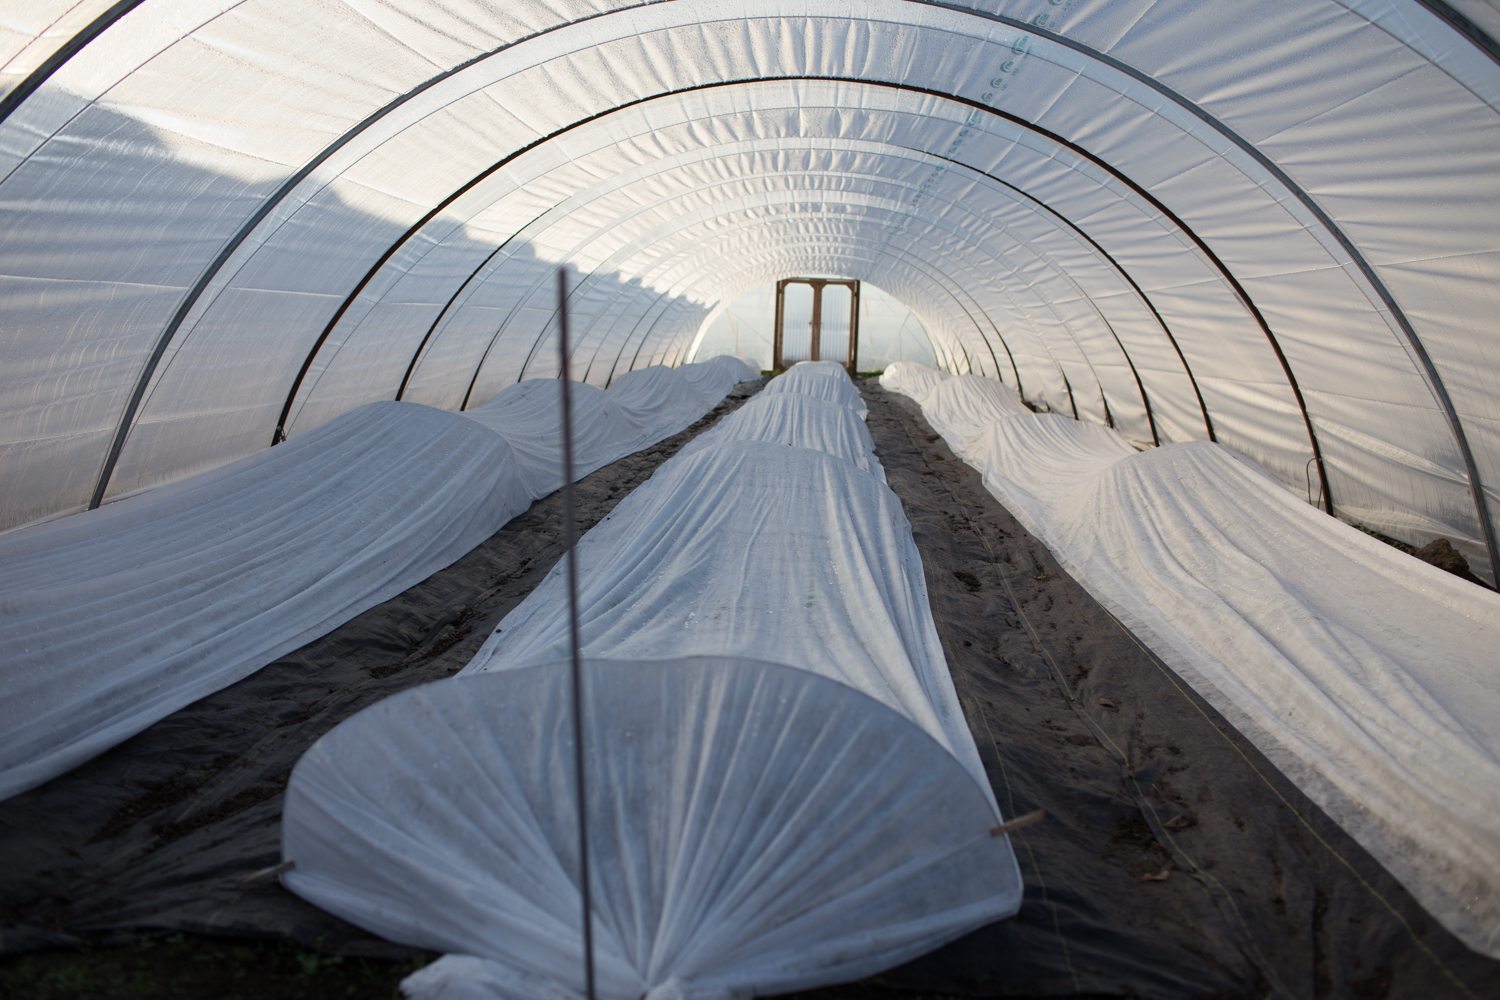
7. During cold stretches, when temperatures dip below freezing, cover the plants with a layer of frost cloth. Autumn-planted corms bloom in early spring, and late-winter or early-spring-planted corms will flower by midspring.
8. We always get lots of questions about how to store anemone corms until it’s time to plant them and whether they can be left in the ground to rebloom the following year. Corms can be stored in the bags they arrive in; keep them in a cool, dry place until it’s time to plant. In colder climates, grow anemones just like annuals and plant new corms each season. If you’re a gardener in USDA zone 7 or above, you can leave your corms in the ground and they may bloom the following year depending on multiple factors, such as how cold your winter is, how well your soil drains, and how much pest pressure you have in your garden. I never count on overwintered corms and plant new ones every year. If the overwintered ones return, I always count it as a bonus.
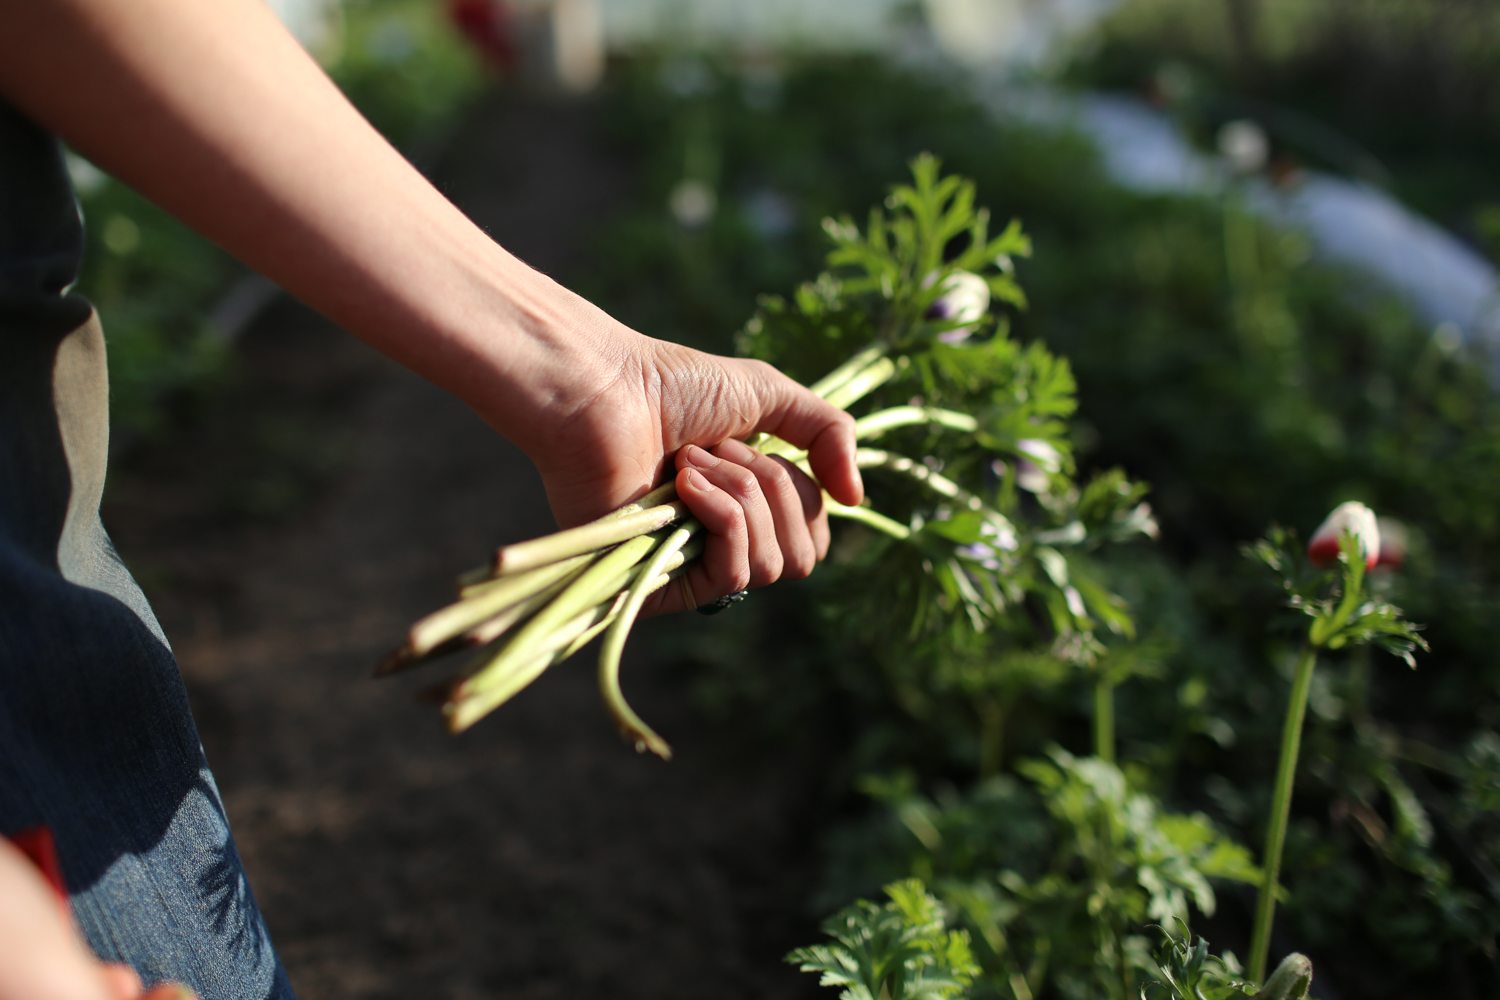
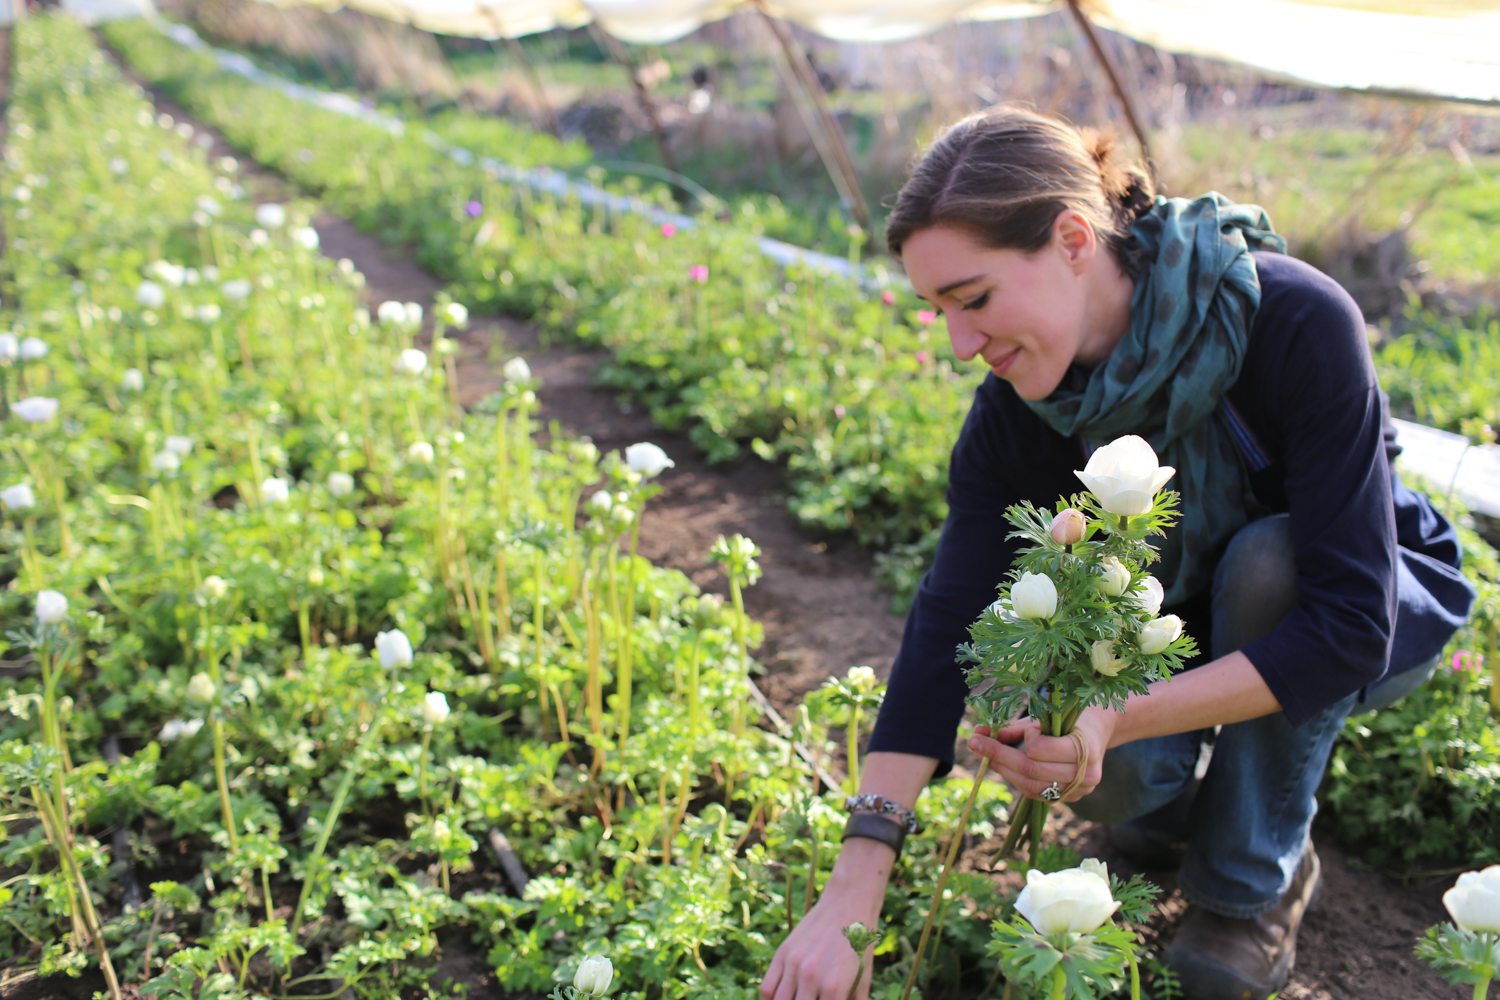
9. Anemones are extremely long lasting, easily persisting for 10 days in the vase if harvested as soon as they open. Adding flower food to the water will ensure that the flowers stay brilliantly colored. Be sure to cut spent flowers down to the base to promote new blooms.
What You Will Need
Method
- Depending on where you live and what kind of setup you’re working with, you can plant your anemone corms in either autumn or late winter/early spring, in a place where they’ll get full sun. In areas with mild winter temperatures (USDA zone 7 and above), corms can be planted in the autumn and successfully overwintered outdoors with the protection of a low tunnel or frost cloth. In colder areas (USDA zone 6b and below), anemones must be grown in a minimally heated hoop house or held back and planted out at the end of winter/early spring. If corms are exposed to temperatures below 25°F (−4°C), they will freeze and ultimately rot once thawed, so be sure to protect them from extreme cold.
- When you unpack your corms, you’ll notice they resemble shriveled brown acorns and are probably not what you were expecting. Don’t worry—these strange little critters will produce an abundance of striking blooms come spring.
- Before planting, soak corms for 3 to 4 hours in room-temperature water. It’s important that you don’t oversoak them—they will rot. As the corms soak, they will plump up, often doubling in size.
- After soaking, corms can either be planted directly in the ground or presprouted. Presprouting the corms before planting will mean flowers bloom a few weeks earlier. To presprout, fill a flat-bottom seed tray half full of moist potting soil. Sprinkle the soaked corms onto the soil and then completely cover them with more soil. Leave the tray in a cool place (40°F–50°F / 4°C–10°C) for 10 to 14 days in an area where rodents can’t find it. Check on the corms every few days, making sure the soil is moist but not soggy, and remove any corms that show signs of mold or rot.
- During this time, corms will swell to about twice their original size and develop little white rootlets that resemble hair. Once rootlets appear, it’s time to plant them in the ground.
- Before planting, it’s important to prepare the growing beds. We add a generous dose of compost (2 to 3 in / 5 to 8 cm) and a balanced organic fertilizer (such as Nature’s Intent 7-2-4) and mix it thoroughly into the soil. Anemone corms are planted 6 in (15 cm) apart at a depth of 2 in (5 cm), with 4 rows per bed. Plant corms with the pointed end down.
- During cold stretches, when temperatures dip below freezing, cover the plants with a layer of frost cloth. Autumn-planted corms bloom in early spring, and late-winter or early-spring-planted corms will flower by midspring.
- We always get lots of questions about how to store anemone corms until it’s time to plant them and whether they can be left in the ground to rebloom the following year. Corms can be stored in the bags they arrive in; keep them in a cool, dry place until it’s time to plant. In colder climates, grow anemones just like annuals and plant new corms each season. If you’re a gardener in USDA zone 7 or above, you can leave your corms in the ground and they may bloom the following year depending on multiple factors, such as how cold your winter is, how well your soil drains, and how much pest pressure you have in your garden. I never count on overwintered corms and plant new ones every year. If the overwintered ones return, I always count it as a bonus.
- Anemones are extremely long lasting, easily persisting for 10 days in the vase if harvested as soon as they open. Adding flower food to the water will ensure that the flowers stay brilliantly colored. Be sure to cut spent flowers down to the base to promote new blooms.